Introduction
Hey there, fellow jinxed traveler. Have you heard about Petra? It’s like stumbling upon a treasure chest filled with wonder and adventure! This place is so mind-blowing that even Indiana Jones couldn’t resist its allure. With rock-cut structures that defy the laws of gravity, ancient tombs that would make any archaeologist drool, and more carved houses than you can shake a selfie stick at, Petra is the ultimate playground for explorers like us. It’s no wonder it’s one of the New Seven Wonders of the World! So, get ready to have your mind blown and your Instagram feed overloaded with envy-inducing photos. We’re about to embark on the most epic two-day Petra itinerary, and I guarantee it’ll leave you with memories to cherish and stories to make your friends green with envy (they don’t necessarily need to know all the crazy stuff that happens behind the scenes… and after reading this article I think you wished you didn’t know some things too). So, buckle up because this is going to be one wild ride!
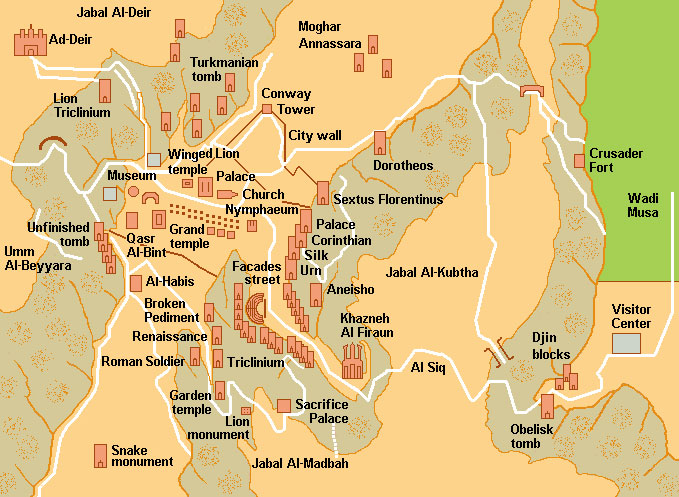
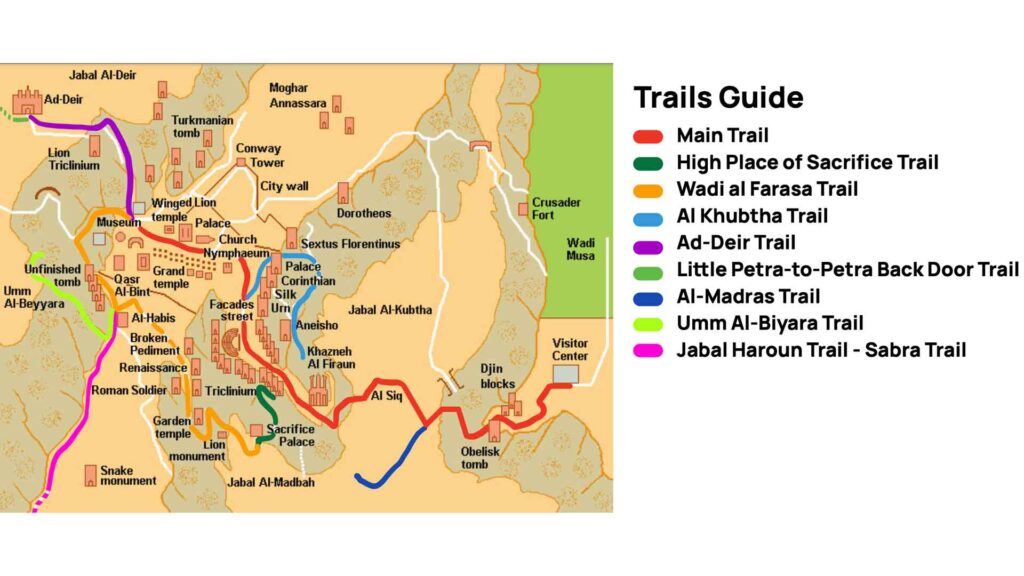
Ultimate Petra Itinerary: Day 1
For every kind of planning information on Petra you can take a look at this article. But now let’s cut to the chase and check out the best Petra itinerary you can follow.
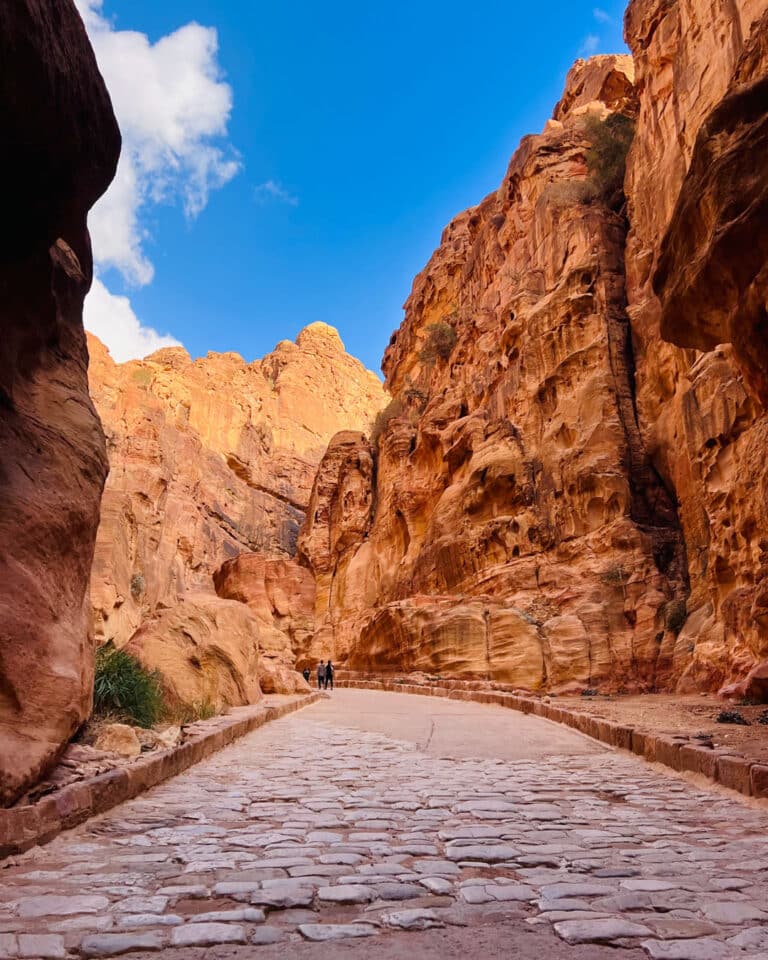
Main Trail: The Siq (easy)
Start off your Petra itinerary by waking up at 5:30 am, so that you are ready to start at 6 am. Trust me, even if it sounds and feels like physical violence if you aren’t a morning person, you will be glad you were such a masochist. Starting at dawn will make you wake up at the same time Petra does and it’s something surreal (also because there won’t be many people around reminding you that it is, in fact, real).
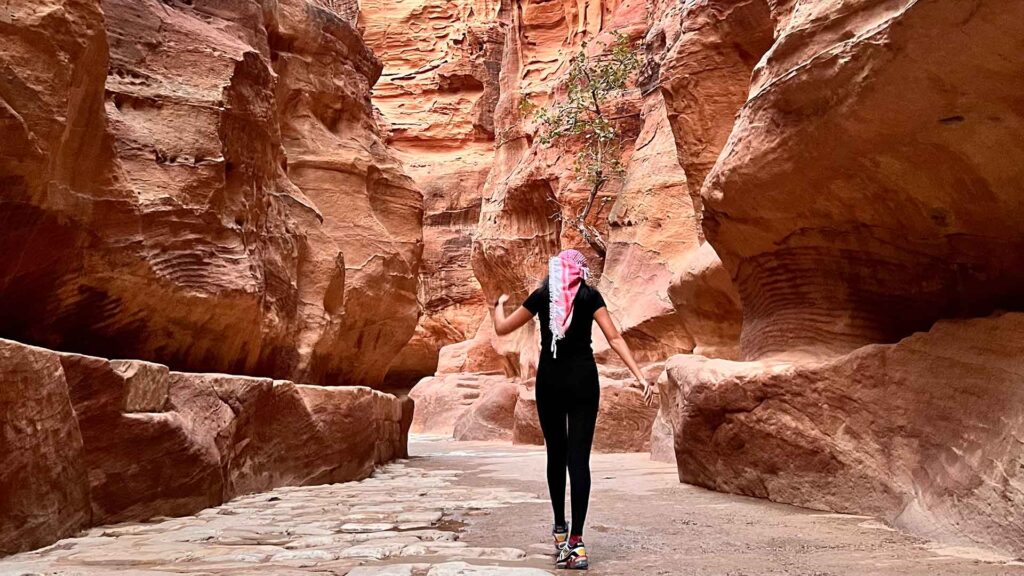
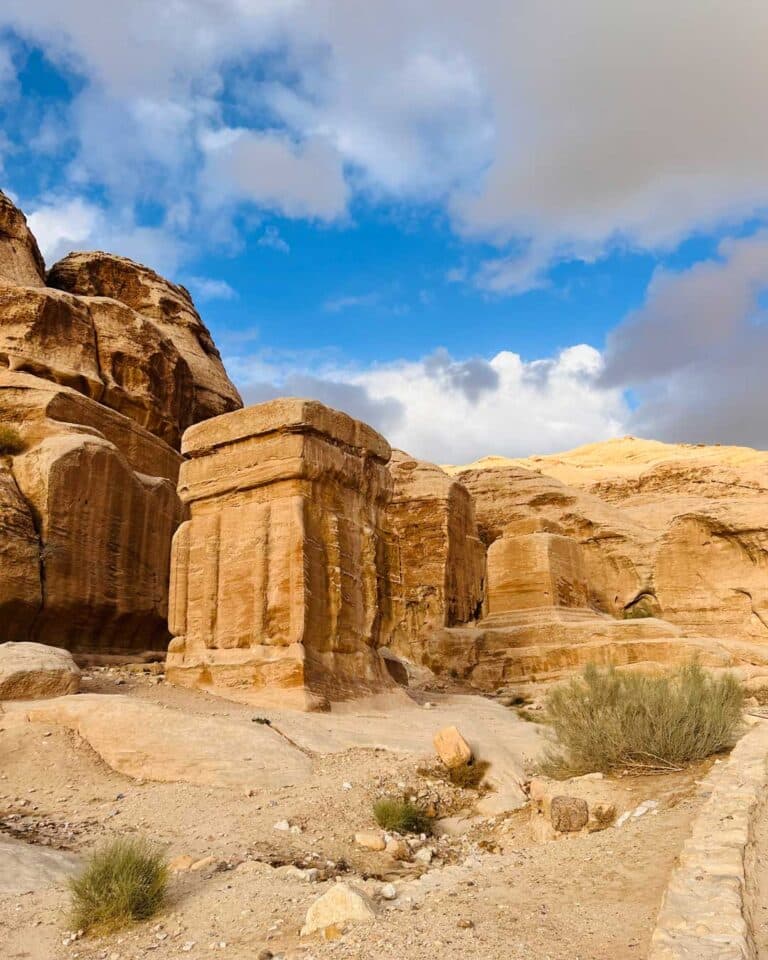
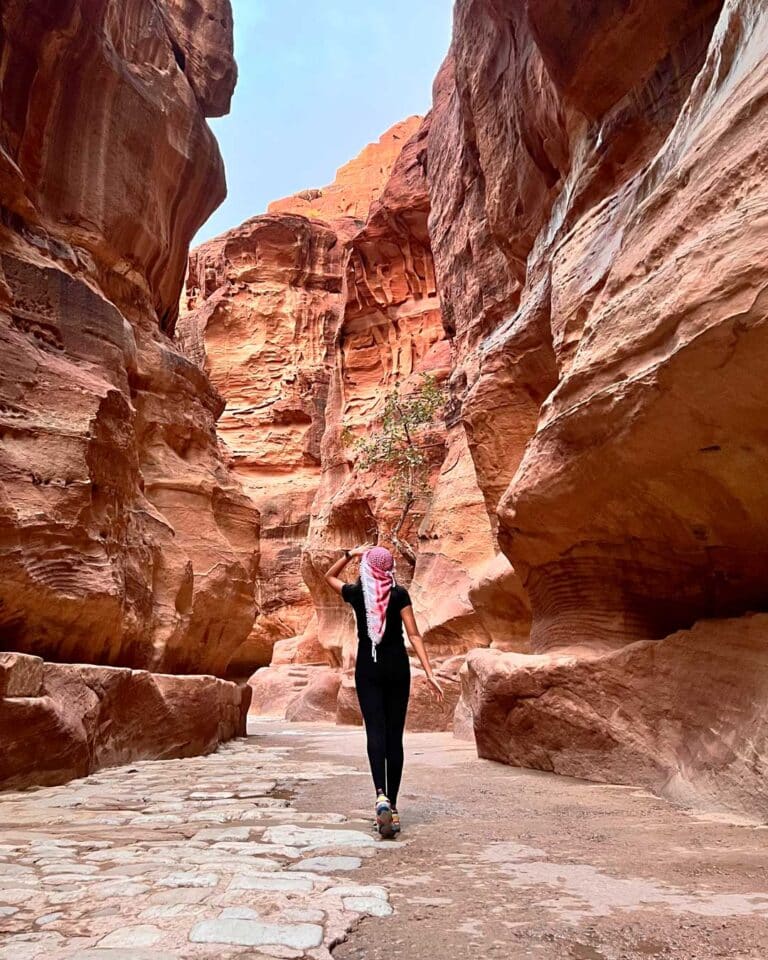
But enough small talk. You want to start your Day 1 of your Petra itinerary at the Visitor Center (get directions), where you will be able to access the Main Trail. This is the easiest and best-paved trail, with no possibility of getting lost. You’ll keep walking and you’ll soon walk past the Djinn Blocks and Obelisk Tomb and continue through the Siq, a super dope, narrow gorge.
The section of the Main Trail from the Visitor Center to the Treasury is approximately 2 km long, and there are some alternatives if you don’t want to walk. You can either ride a horse from the entrance to the Treasury theoretically free of charge (even though Bedouins normally expect a tip and the animals have a pained look) or you can pay for a club car (JOD 15 / ~USD 21, ~EUR 19 for a one way ride to the Treasury, JOD 25 / ~USD 35, ~EUR 33 for a return ride).
Time to visit: 30 min (2 km)
Photo spots
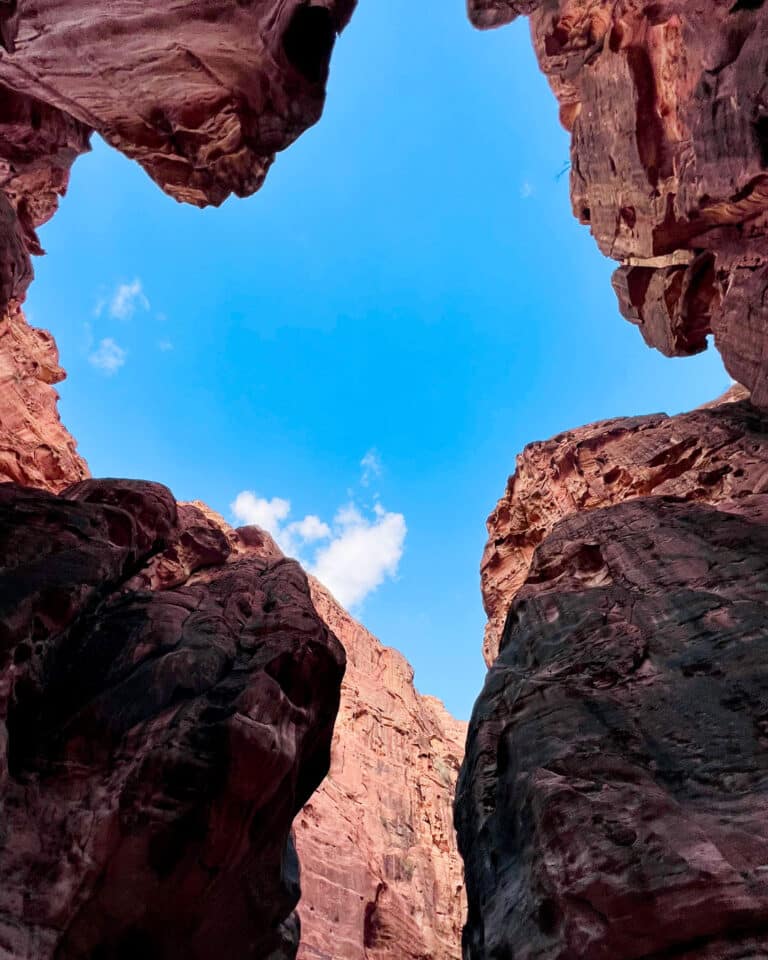
You can take some cool photos and videos while you are walking in the Main Trail and especially the Siq. You’ll only need to worry about how you’re gonna end up in the pic, as the setting is definitely photogenic. But if you aim at taking dope shots in front of the Treasury with no people ruining them, you might wanna keep it short here.
Main Trail and unofficial trails to the viewpoints: The Treasury (moderate-hard)
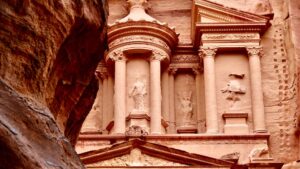
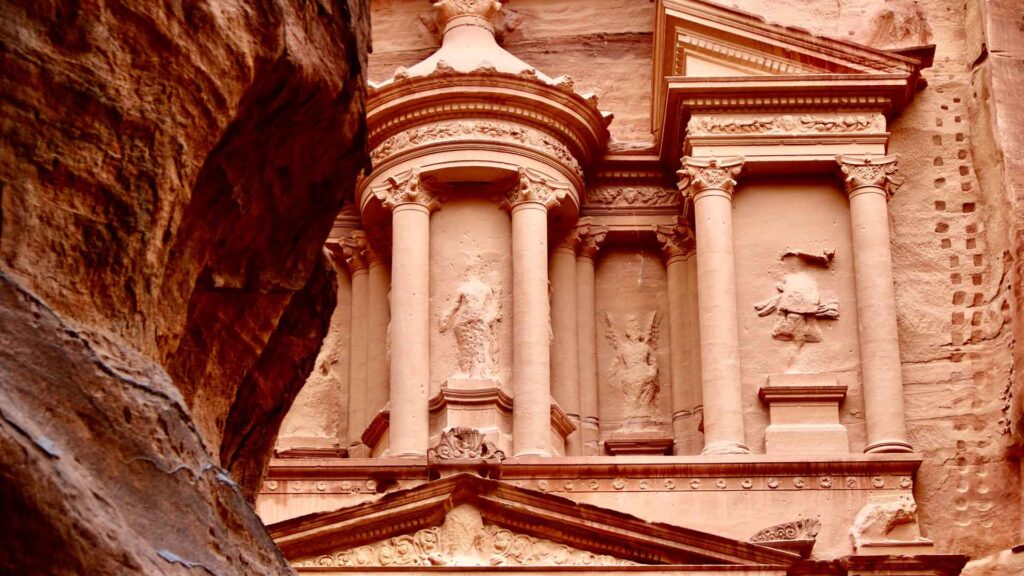
After your photo shoot sesh in the Siq, get ready to keep walking and finally see the iconic Treasury (get directions). Once you’re there, take the time to soak in all the beauty, and then start looking around for Bedouins (don’t worry, they’re usually the ones who make the first move). That’s because you might wanna take a few shots from at least one of the viewpoints. And if you feel like you’re attached to your life, you might want to reduce the chances of dying by hiring a knowledgeable guide (kidding, or maybe not).
At the Treasury, there are two viewpoints, neither of which are on the official maps, therefore making them kinda illegal:
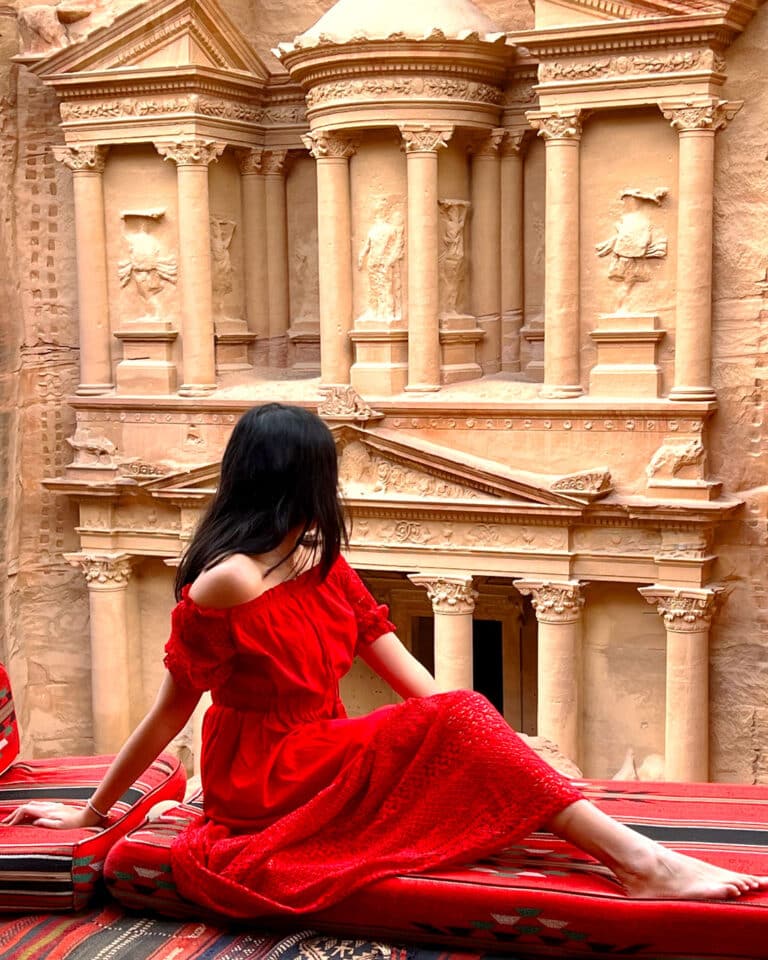
- Lower Treasury Viewpoint: facing the Treasury, it’s on your right. It is the easiest to reach and the chance of dying while reaching it is relatively low. You can take dope photos and be happy with the result. If you’re risk-averse or if you hold on to your life slightly more than me, I would recommend reaching only this viewpoint.
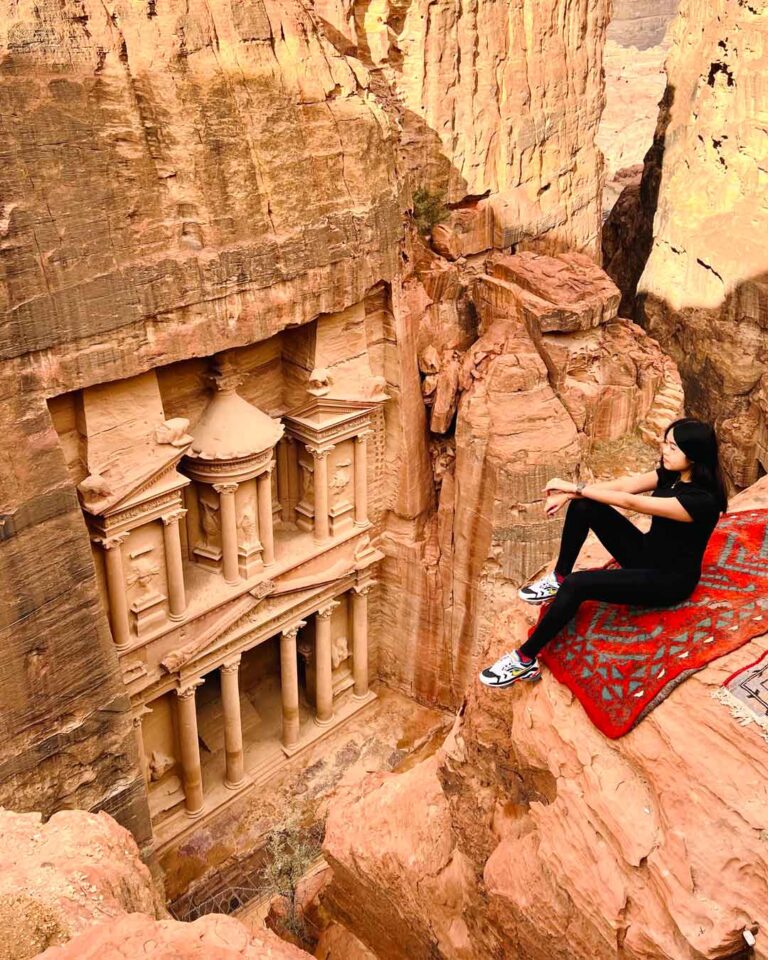
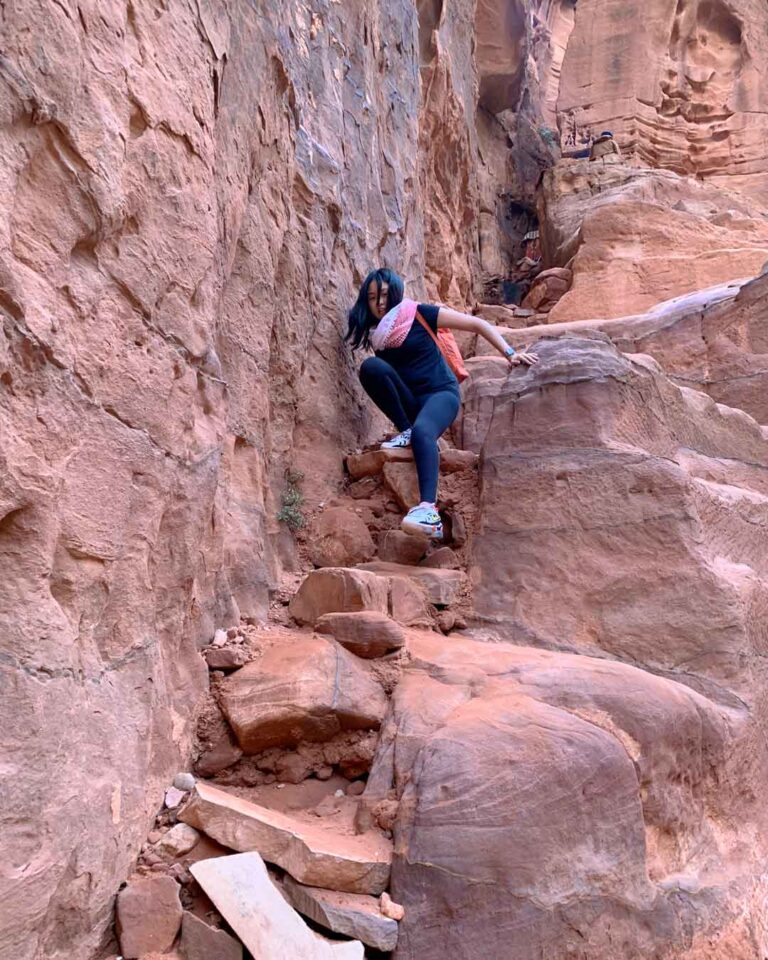
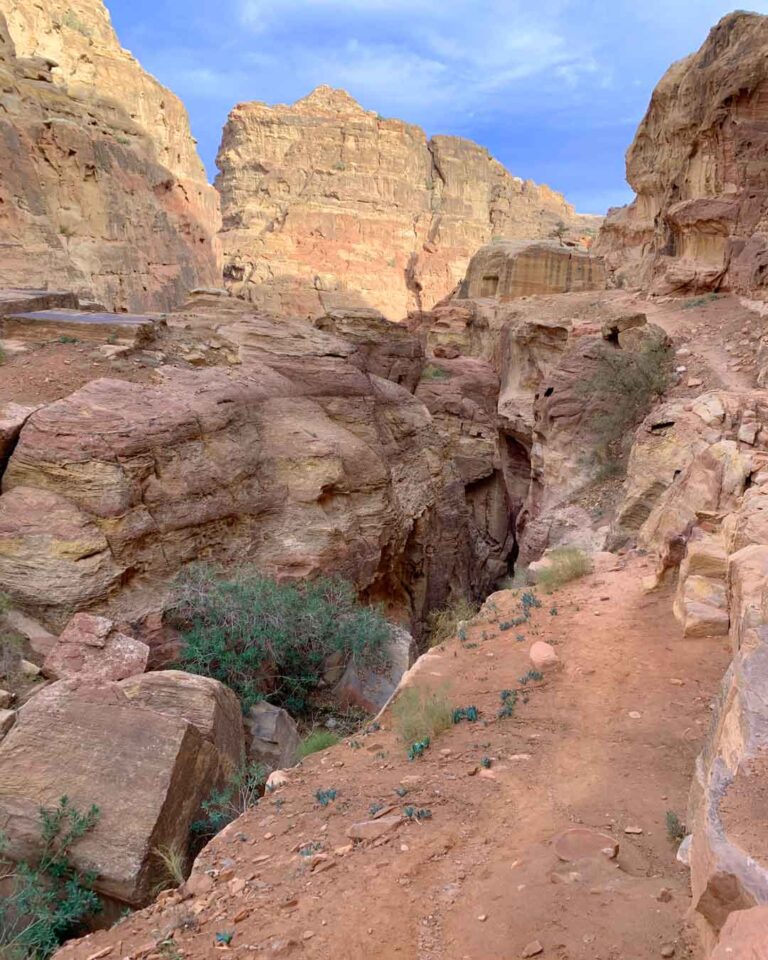
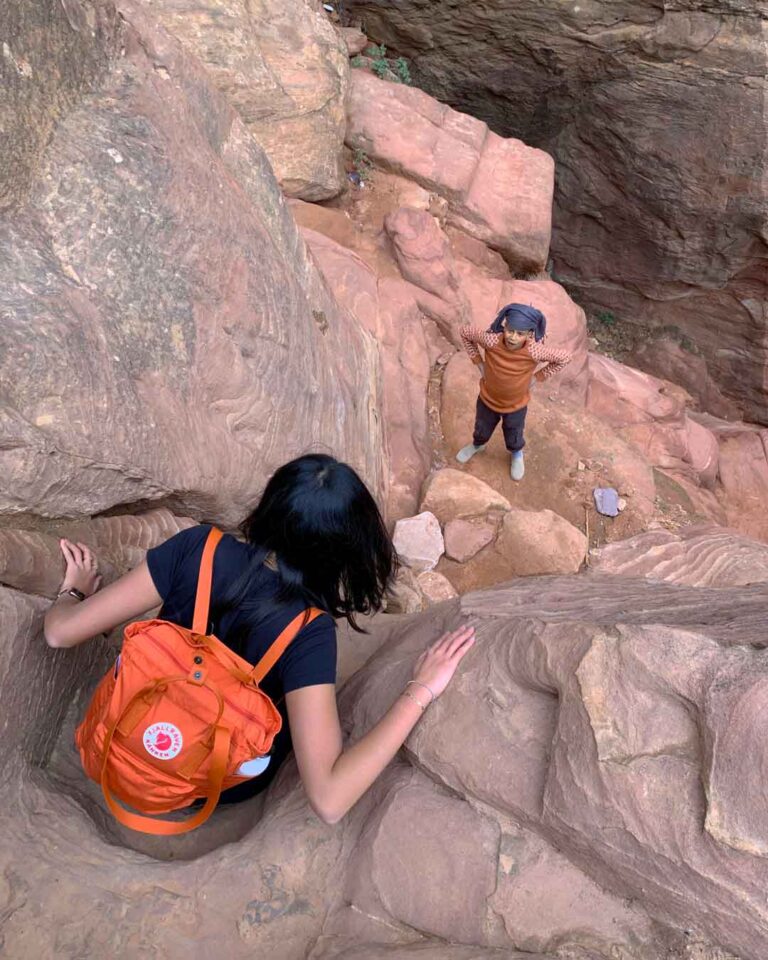
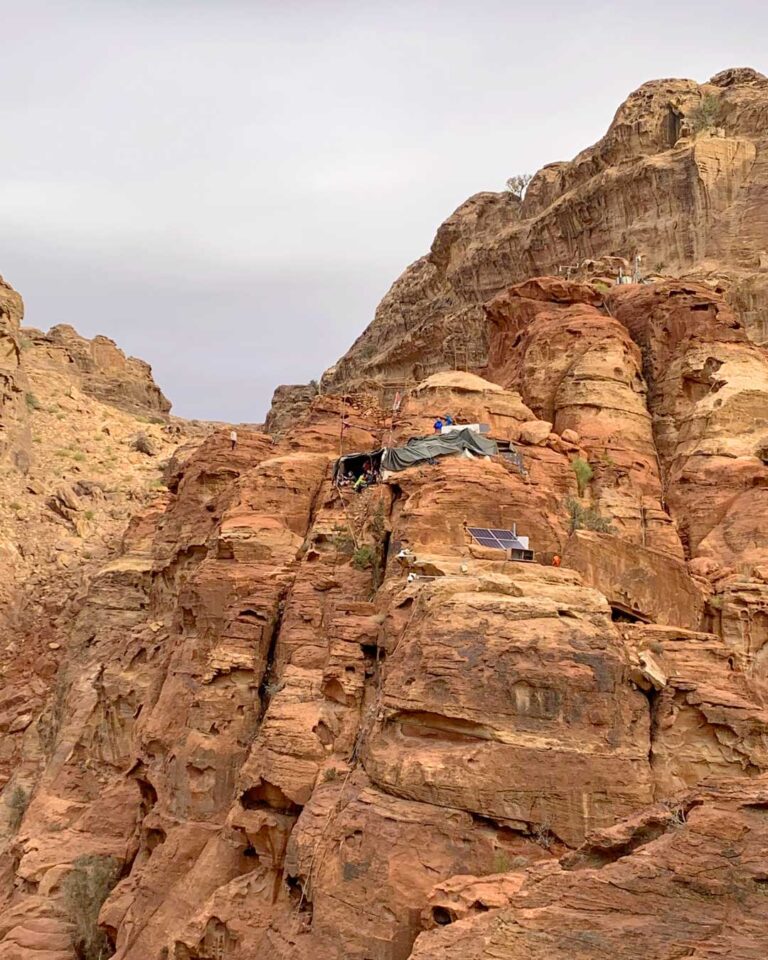
- Higher (Hidden) Treasury Viewpoint: facing the Treasury, it’s on your left. I couldn’t have found it if it wasn’t for the 10-year-old Bedouin guide we hired, and there isn’t a proper path to reach it. I would say that the chance of dying is very high at some points, and it can resemble rock climbing in some aspects. I cursed myself several times during the climb, but on the bright side, there was a nice tent at the viewpoint, and I enjoyed hot tea with the Bedouins up there. Plus, the view itself was absolutely breathtaking.
Time to visit: 30 min to 3 hours
Photo spots
What can I say, these are the photos that will definitely end up on your feed.
But, as always, there’s a catch. Below you can find what’s BTS of these two stunning views.
Main Trail and High Place of Sacrifice Trail (moderate)
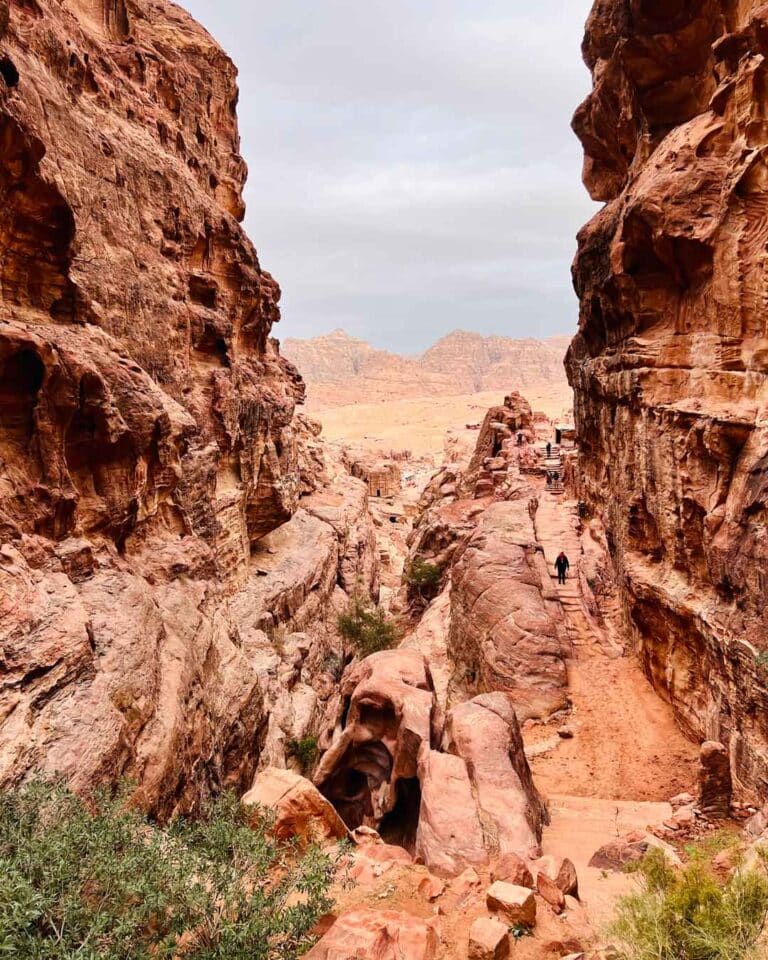
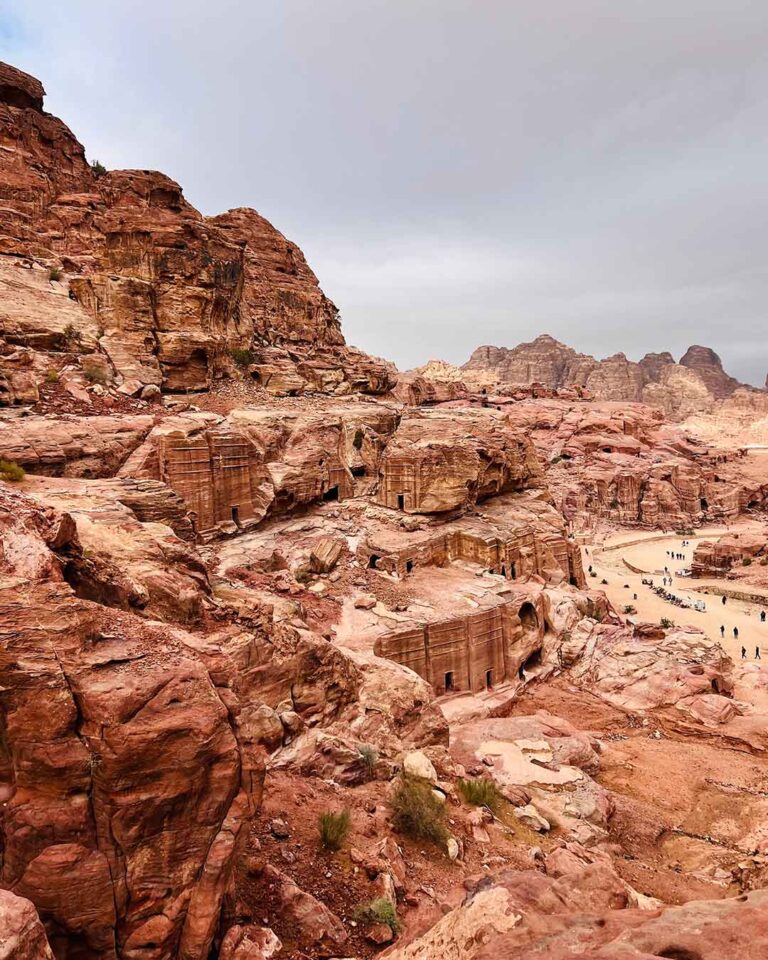
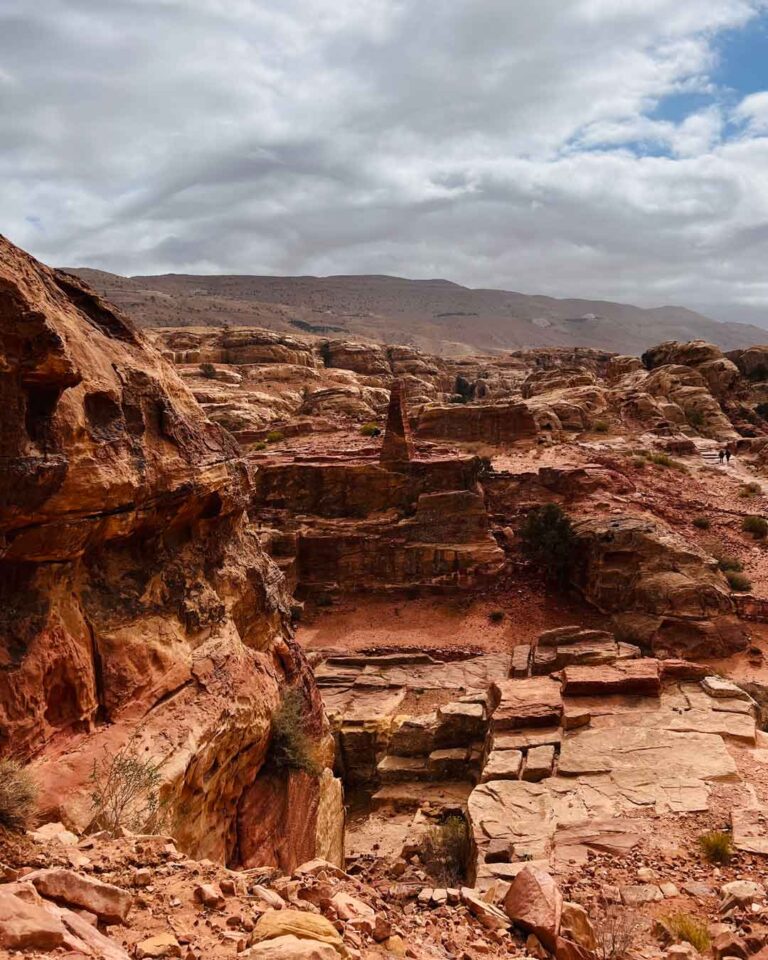
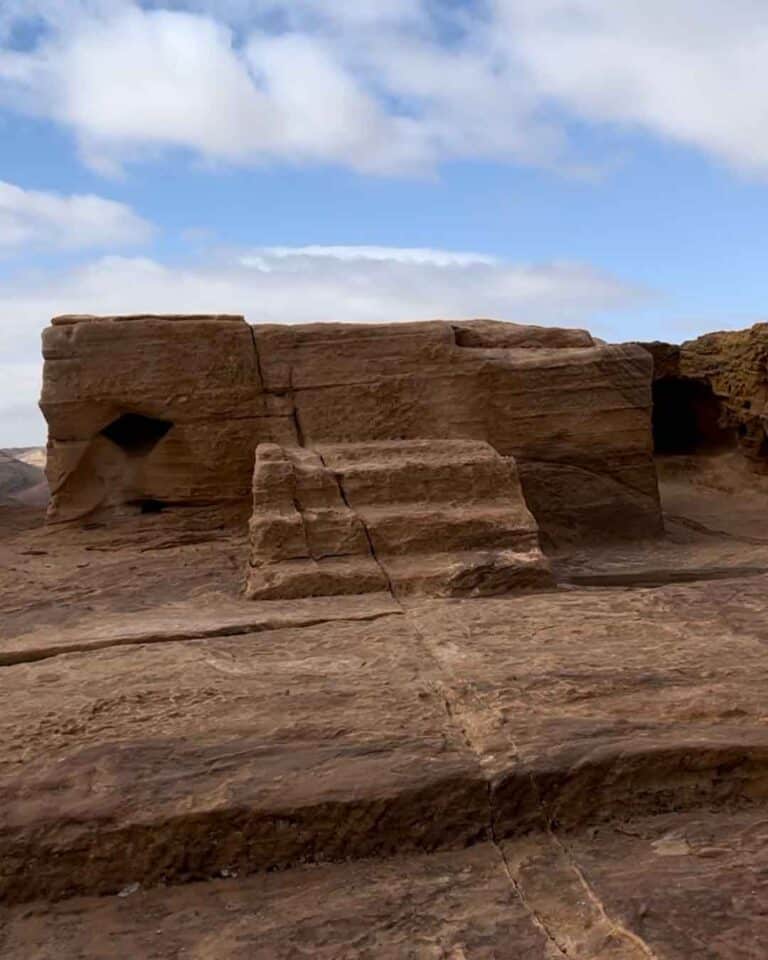
You will now continue past the Treasury on the Main Trail and eventually see a set of stairs on your left (pointing south), right after the Why Not Shop and before the Nabatean Theater (get directions). Well, get ready to climb some steps (around 800) to reach the High Place of Sacrifice (get directions). Once you see the obelisks, just turn right, climb the last set of stairs and ta-da! You’ll eventually find the High Place of Sacrifice (saying that because I walked past it the first time). This ancient religious site was built by the Nabataeans in the 5th century BC for animal sacrifices (mainly goats in honor of prophet Aaron, remember the Swiss explorer Johann Ludwig Burckhardt from the non-requested history lesson? You’ll be walking exactly the same path he walked when he rediscovered Petra). But it is also a beautiful spot to take in the views of the surrounding area. Moreover, there’s a nice coffee shop up there where you can sip a cup of Bedouin tea while enjoying being 200 meters above all the crowds.
Time to visit: 1 hour (1.5 km)
Photo spam
Unlike the Treasury pics, these will probably end up forgotten in your gallery unless you are a better photographer than me (easily).
Wadi Al Farasa Trail (moderate)
From the High Place of Sacrifice, your Petra itinerary continues south to Wadi Al Farasa Trail, which will bring you to Qasr al-Bint, at the end of the Main Trail. To get to the trail, you’ll need to walk back to the obelisks and go past a coffee shop. At the junction (get directions), you would normally turn right to go to the High place of sacrifice, but you need to turn left to walk the Wadi Al Farasa Trail.
Unfortunately, to this day I still don’t know if the trail was closed or if I was too dumb to find it, so I can’t share my personal experience. However, you will have the opportunity to see the Lion Fountain, which used to have an open mouth gushing water coming from a spring above it.
The trail will continue through a rainbow-colored valley until you reach the Garden Temple, also known as Garden Tomb or Garden Triclinium. Although it was neither a burial site nor a temple, it was likely a garden house equipped with one of the largest cisterns in Petra connected with smaller cisterns.
If you keep going, you’ll soon reach the Tomb of the Roman Soldier, which is known for the tomb façade, but also has a courtyard, remains of two-story buildings, and a triclinium (for fellow foodies, the formal dining room), which all date back to the late 1st century AD.
Afterwards, you continue down the wadi and pass a series of tombs, including the Renaisance Tomb and the Broken Pediment Tomb, as well as the Ez-Zantur Hill with remains of magnificent Nabatean houses and a villa. You will then continue on the western slope of Zibb Atuf and pass the Pharaoh’s Column, located at the back of the Street of the Façades. Finally, you will reach a junction that will either take you up to the steps to the Monastery or down to Qasr al-Bint, which marks the end of the Main Trail.
Time to visit: 1 hour (3 km)
Photo spam
As I said, probably I was too dumb to find the Wadi Al Farasa Trail, so here you can find some pictures of kittens as a replacement.


Main Trail, the Royal Tombs and Al Khubtha Trail (moderate)
Congrats, you’re more than halfway through your Day 1 Petra itinerary. From Qasr al-Bint (get directions) walk the Main Trail backward to make your way to the Colonnaded Street. This 2,000-year-old street is one of the best-preserved Roman streets in the world and from there you can spot the remains of the Great Temple on your right and the Nymphaeum on your left. You will then enter the Street of Façades and soon pass two cafés (you might want to stop here to have lunch) and a souvenir shop on your right.
Opposite the souvenir shop, you will find some low-rise stairs (get directions) which lead you to the Royal Tombs. Alternatively, you can walk past the Nabatean Theatre and opposite the Why Not Shop you will find another entrance to the Trail. This will allow you to see the Tomb of ‘Unayshu before reaching the Royal Tombs, which you would otherwise miss.
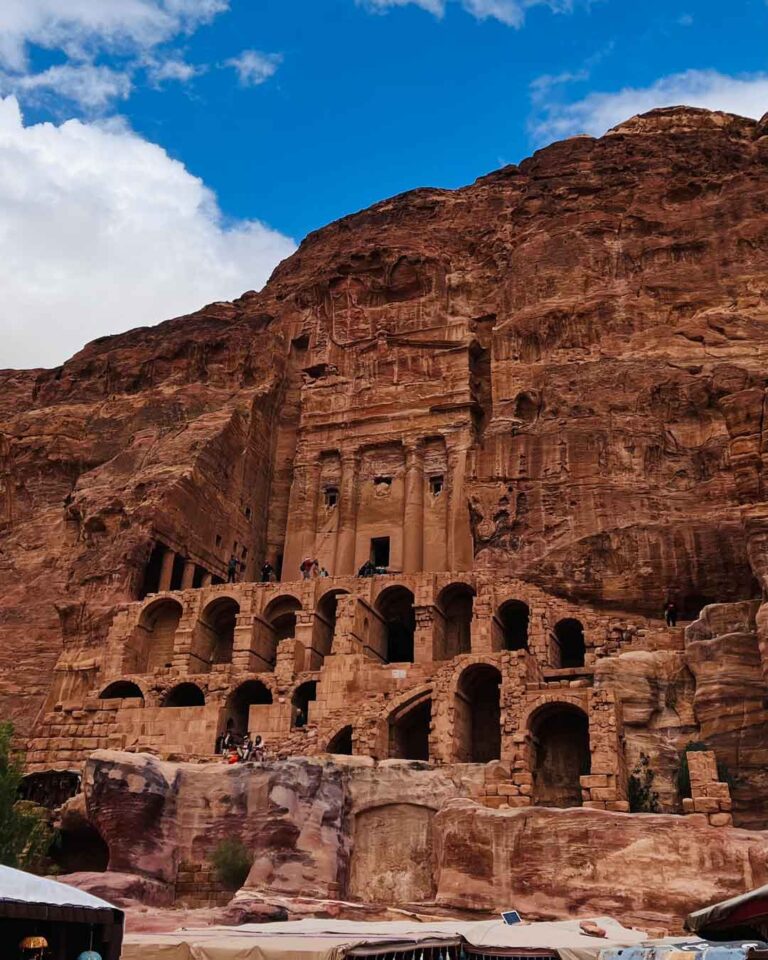
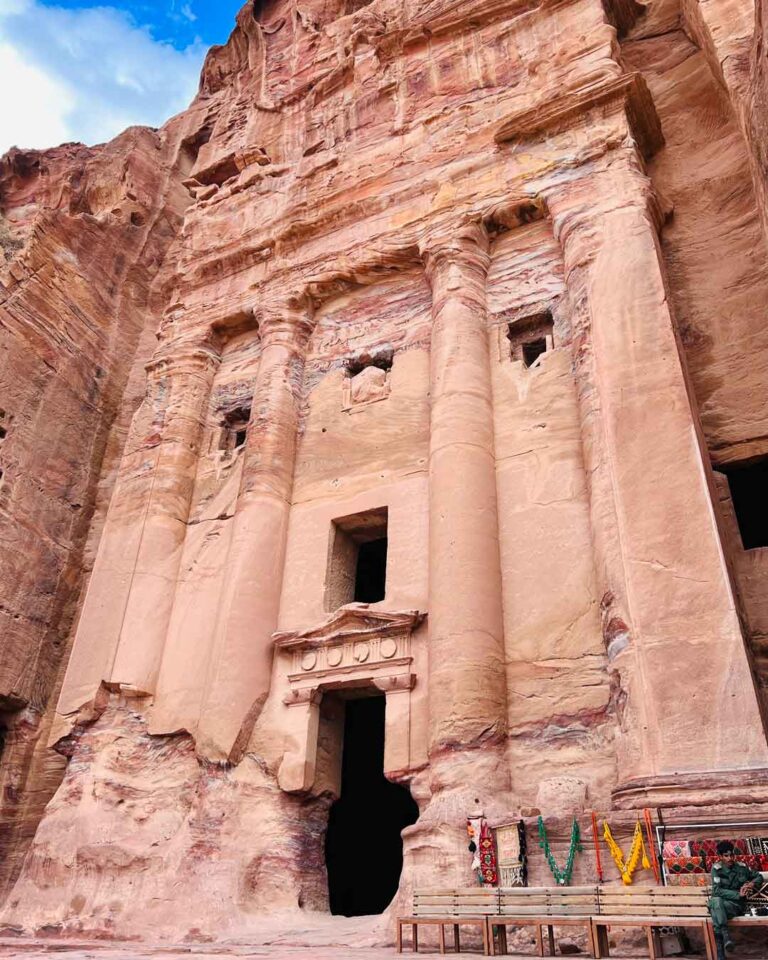
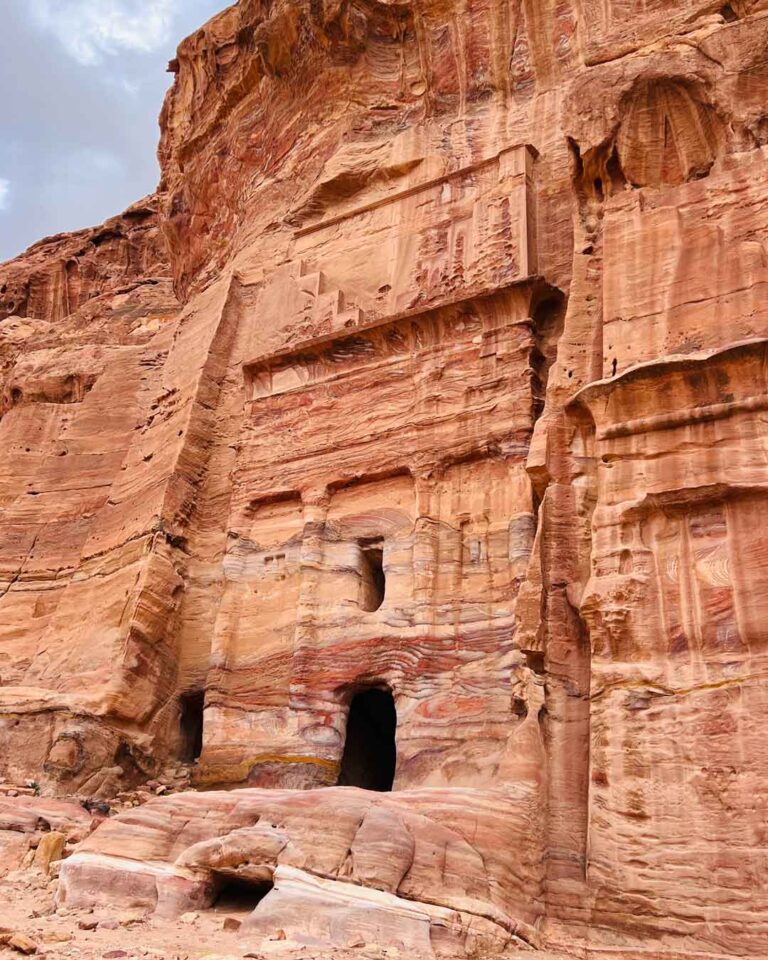
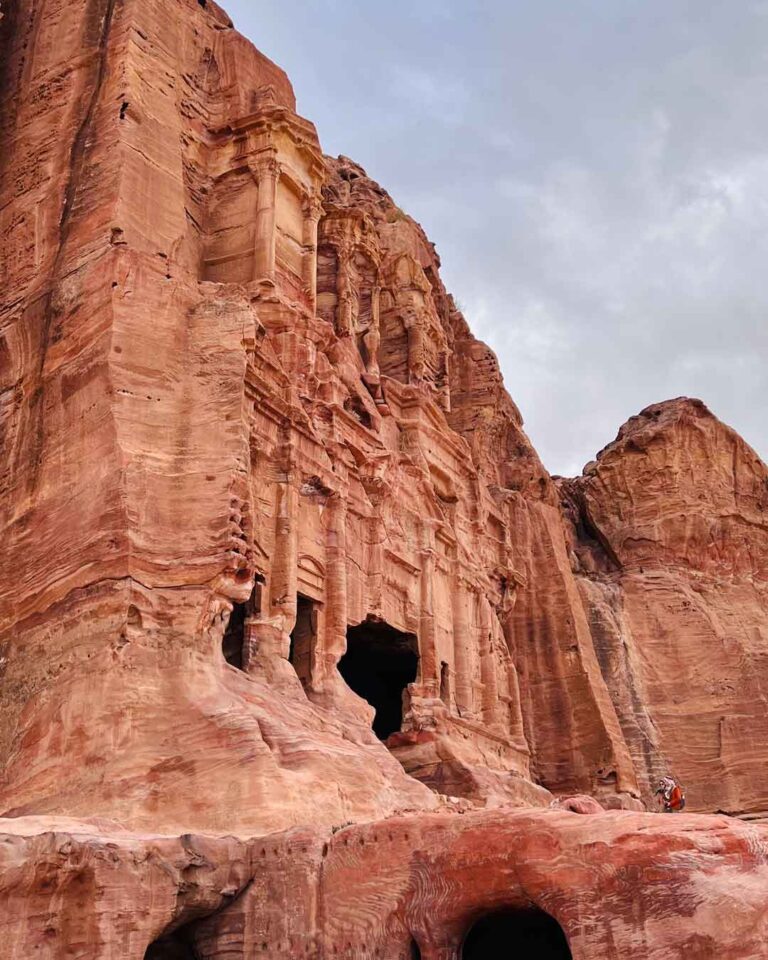
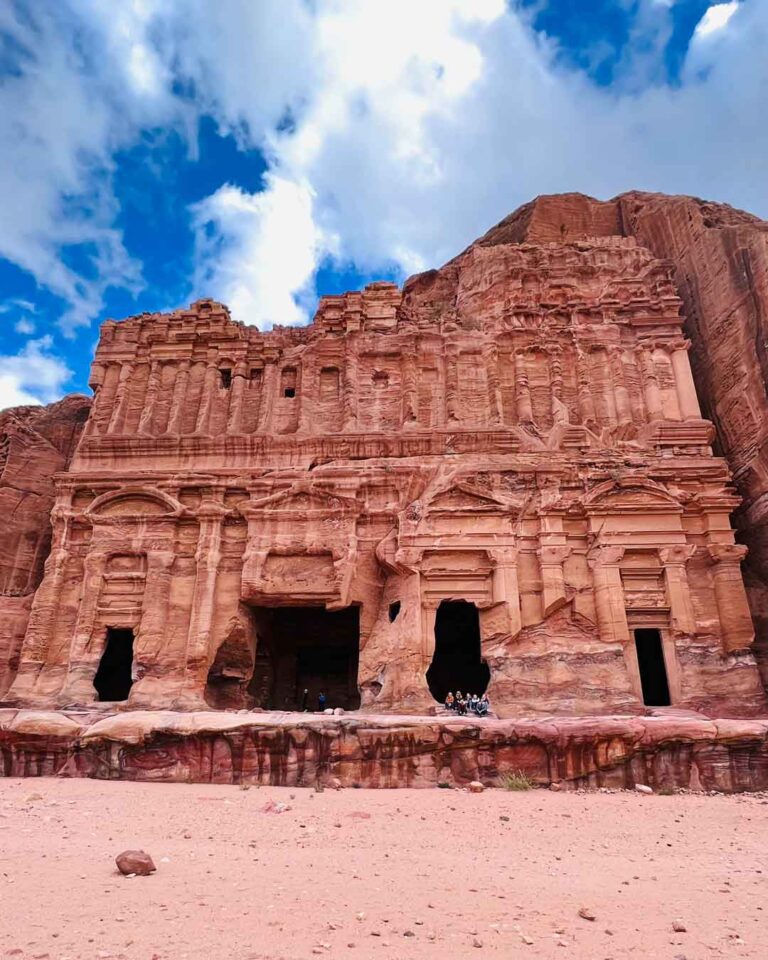
There are four Royal Tombs: the Urn Tomb, the Silk Tomb, the Corinthian Tomb and the Palace Tomb. The actual Al Khubtha Trail starts besides the Palace Tomb with a set of stairs. Once again, I was too dumb to find it, so didn’t get the chance to hike this trail. However, if you are more gifted in intelligence than me (and you are, trust me), you’ll soon be able to enjoy a magnificent view of Petra from above as you hike above the Tombs. If you continue walking, you will eventually reach another Treasury Viewpoint (with lower chances of death along the way). After that, you can potentially trek down towards the Treasury by following the same path you took to the higher Treasury Viewpoint, but please be aware that this is not an authorized trail. The Al Khubtha Trail is designed to be a one-way trail, so you should retrace your steps and return the same way you came up.
Time to visit: 1h 30 min (3 km)
Photo spam
Again, I was too dumb to find the Al Khubtha Trail but at least the Royal Tombs were too hard to miss. I mean, it’s a whole mountain.
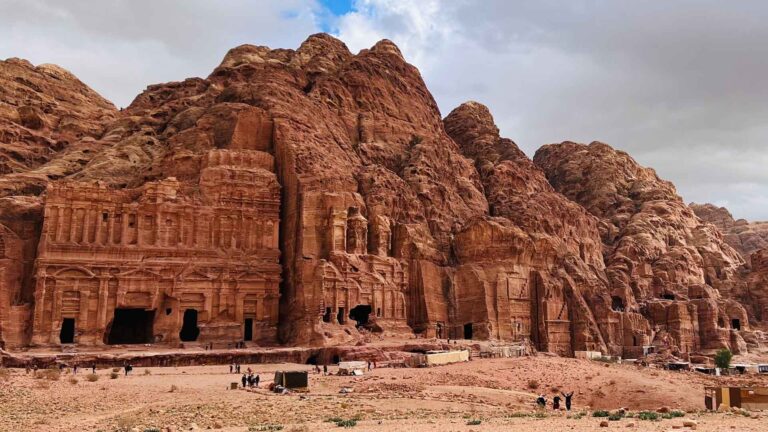
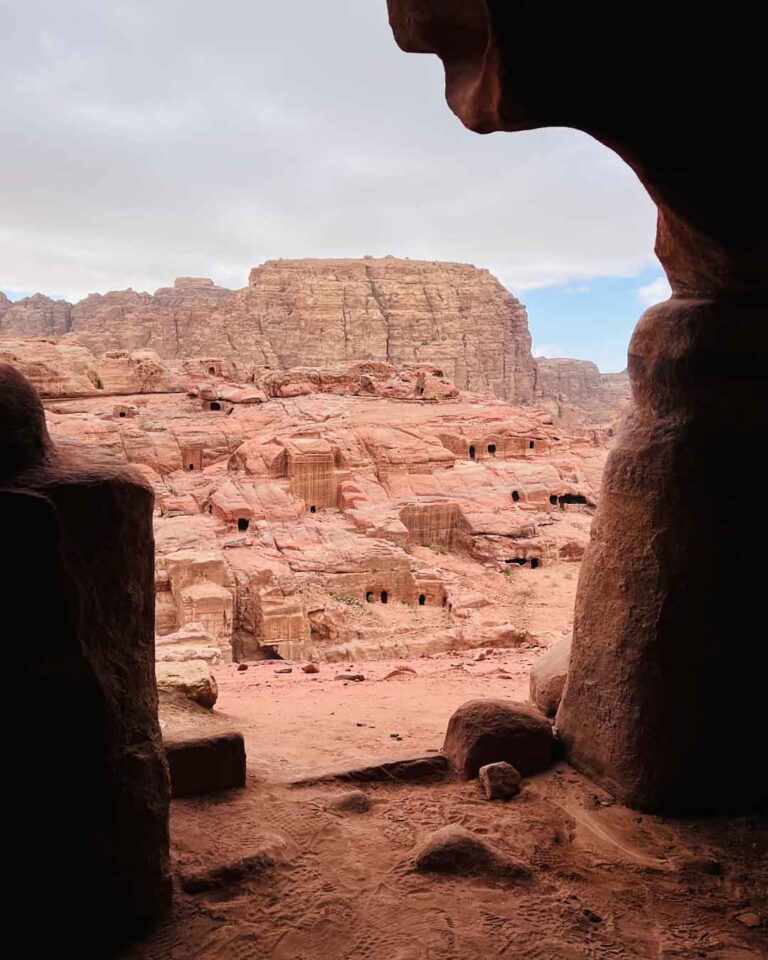
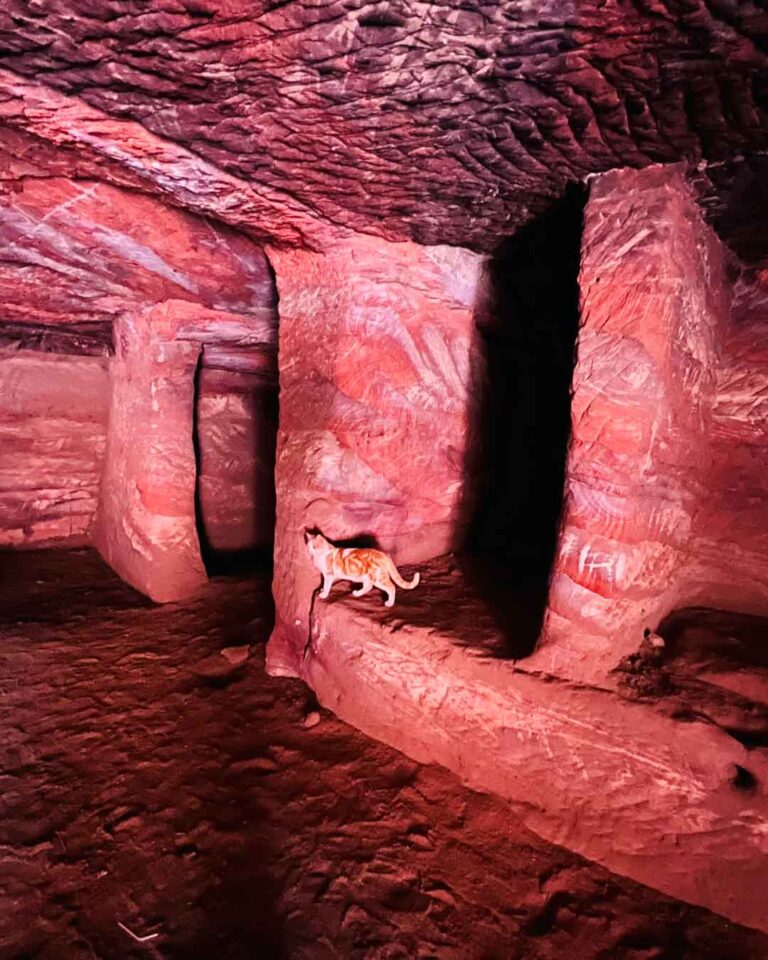
I also have some details of the single tombs in case the picture above is not clear enough. Indeed, there are more than 4 tombs up there.
Main Trail back to the Visitor Center (easy)
By now, your legs will likely feel like jelly. But here’s some good news: it’s time to head back to the Visitor Centre and rejoin civilization. From the Royal Tombs, make your way back to the Main Trail. Walk all the way to the Visitor Centre, where you can treat yourself to a well-deserved ice cream from one of the stands there. You made it through your Day 1 Petra itinerary! (Hopefully, you won’t need a wheelchair the next day.)
Time to visit: 45 min (3.5 km)
Ultimate Petra Itinerary: Day 2
Transfer to Little Petra
New day, new adventure, so get ready for part two of your Petra itinerary. Today, you can sleep in (so to speak), as you only need to be at the Visitor Center by 7 am. Once you arrive, head to the back of the ticket office (get directions) where you will find a free shuttle van that goes from the Visitor Center to Little Petra. The shuttle is scheduled to leave at 7 am, but it waits until it’s completely filled up before departing. So, be prepared for a possible departure time between 7 am and 7:30 am. If you happen to miss the initial shuttle, there should be subsequent shuttles running approximately every hour until 3 pm. However, please note that there are no official timetables available, so take this information with a grain of salt. If you prefer a private transfer, arrangements can be made the day before with taxi drivers, and the standard charge would be around JOD 15 (~USD 21, ~EUR 19).
Time to visit: 15 min
Photo spam
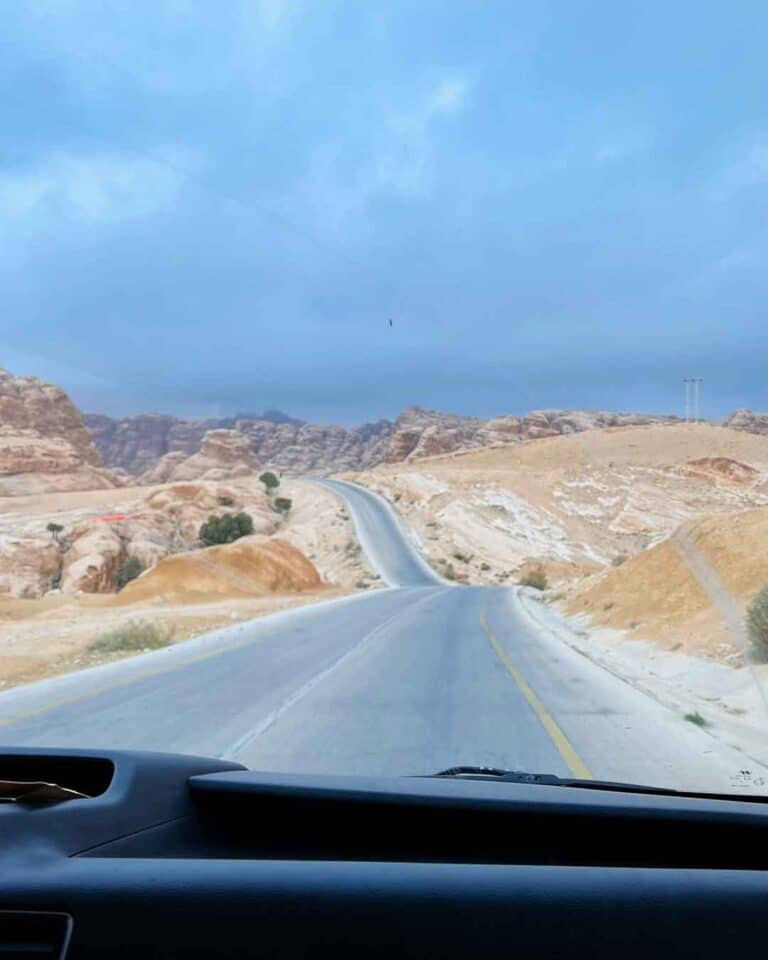
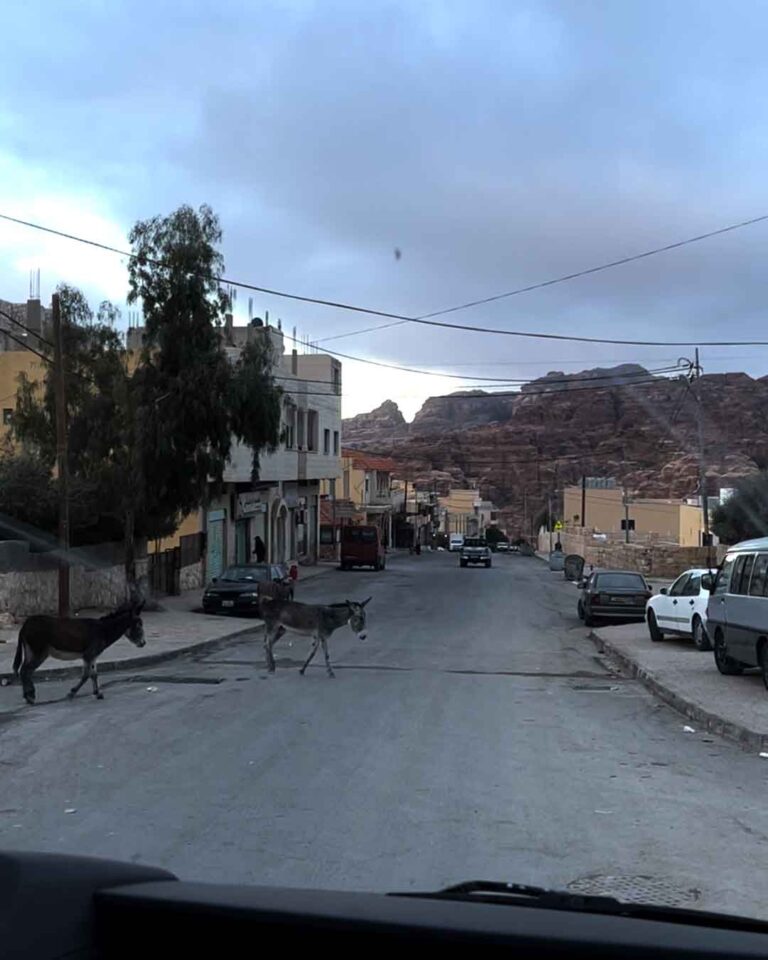
The 15-minute ride from Petra to Little Petra is going to be a fun one as the road goes through a unique landscape and crosses a village where donkeys roam freely.
Little Petra (easy-moderate)
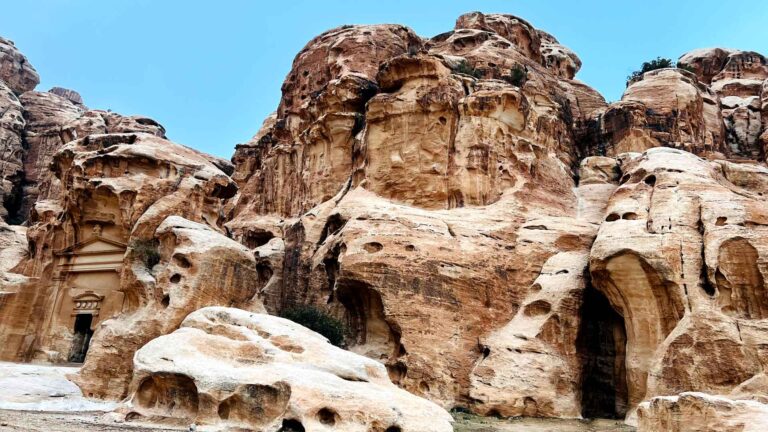
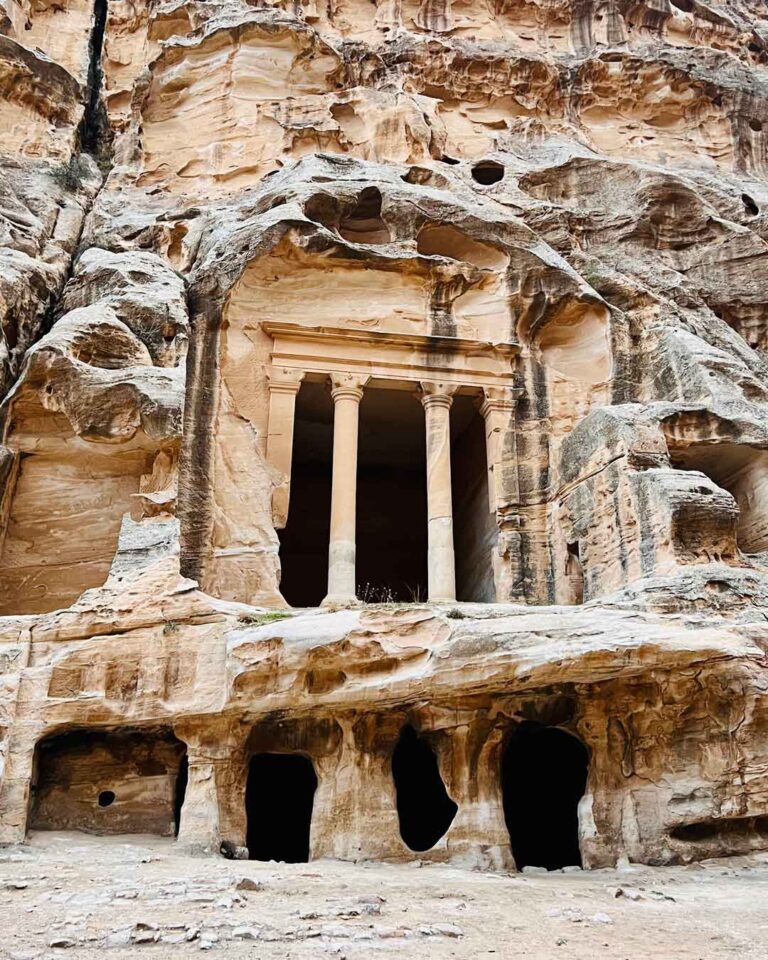
You might be wondering what Little Petra is all about and why I added it to this Petra itinerary. Well, surprise! It’s literally a little Petra, and the best part is – it’s free! Have I won you over already? Okay, enough with the jokes (even though I wasn’t really joking). Little Petra, also known as Siq al-Barid (but let’s be real, who am I kidding? It’s already something that Little Petra is something you’ve ever heard of), is a delightful little gem. Unlike Petra, its purpose was a bit different. It was probably built as a fancy suburb during the 1st Century AD, so instead of carved tombs, you’ll find carved houses.
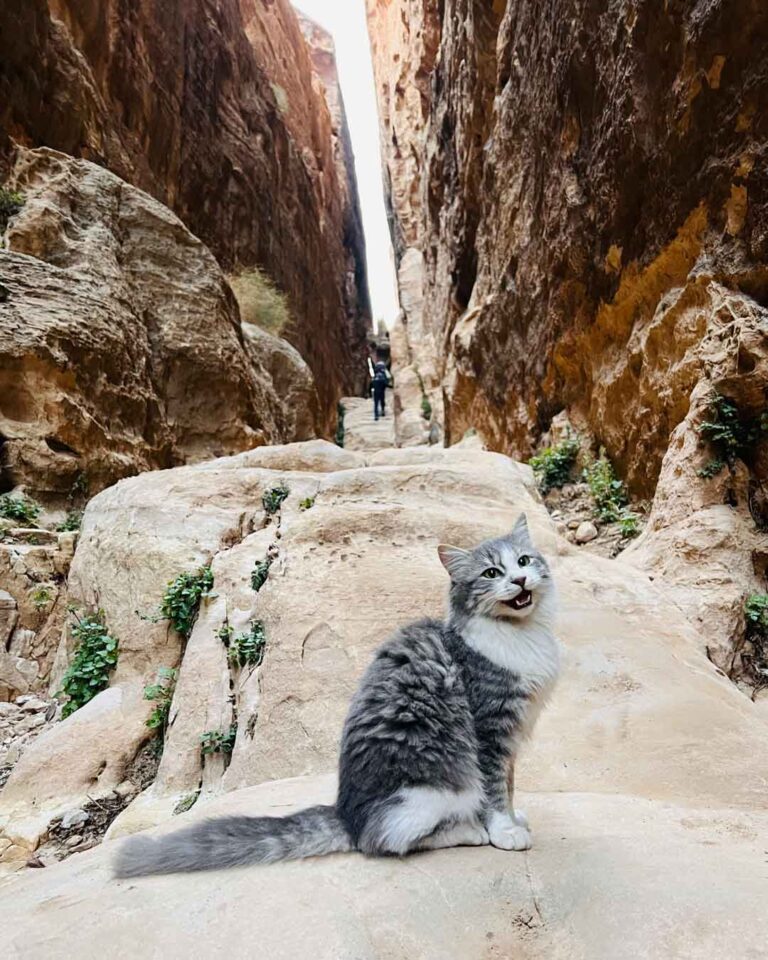
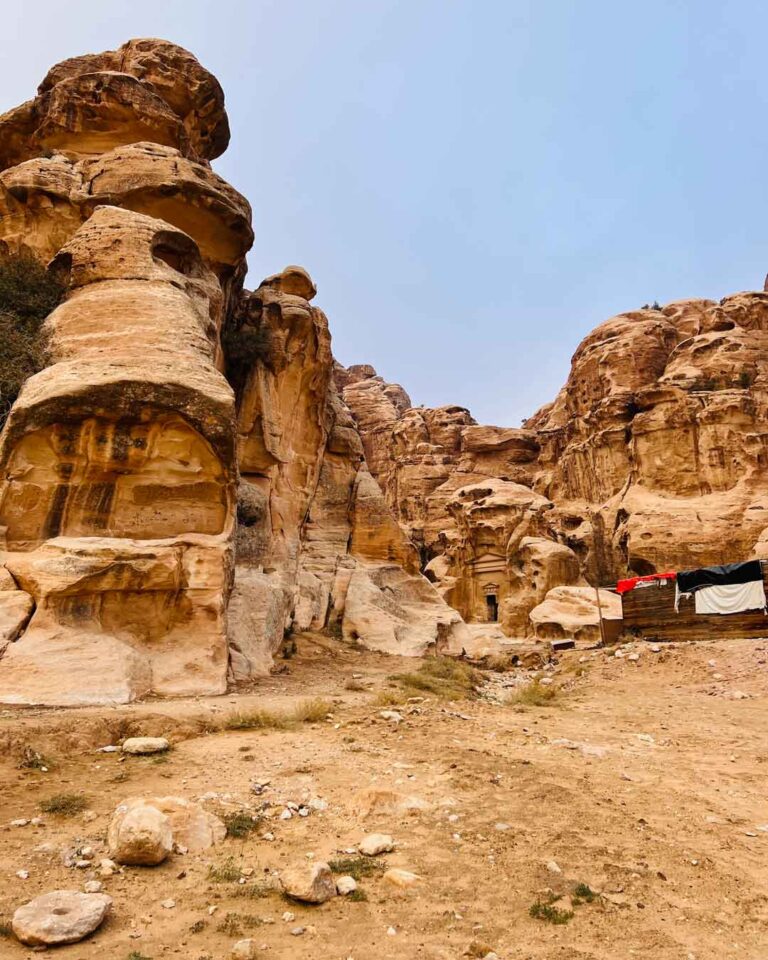
Once you walk past the souvenir and food stalls at the drop point/car park (get directions), it’s time to start exploring. The first thing you’ll notice is a carved house on your right with some stone stairs in front of the entrance. Then, you’ll enter the Siq. Now, let’s be clear, this Siq is nowhere near as impressive as the one in Petra. It’s generally pretty narrow, but there are some wider parts where you can admire some pretty cool carvings.
At the first opening of the Siq, on the left, above three carved openings, you’ll spot the supposedly magnificent Temple of Dushara. Who is Dushara, you ask? Well, according to popular belief, he’s probably some pre-Islamic Arabian chief deity worshipped by the Nabateans (fun fact: his depictions conveniently lack eyes and a nose, and his two wives mysteriously lack heads). Then take a look around, and you’ll discover more scattered carved houses that are just waiting to be explored.
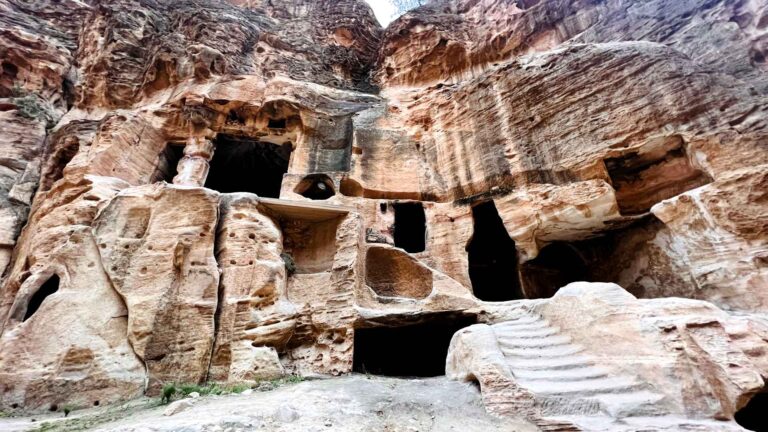
After that, the Siq narrows again for about 50 meters before widening once more. Here, you’ll find even more cave dwellings that expand in height. Oh, and let’s not forget the four triclinia. They were likely used to entertain visiting merchants. And there’s a small biclinium too – a rock-cut dining room with preserved wall frescoes on the ceilings. They named it the Painted House. Fancy.
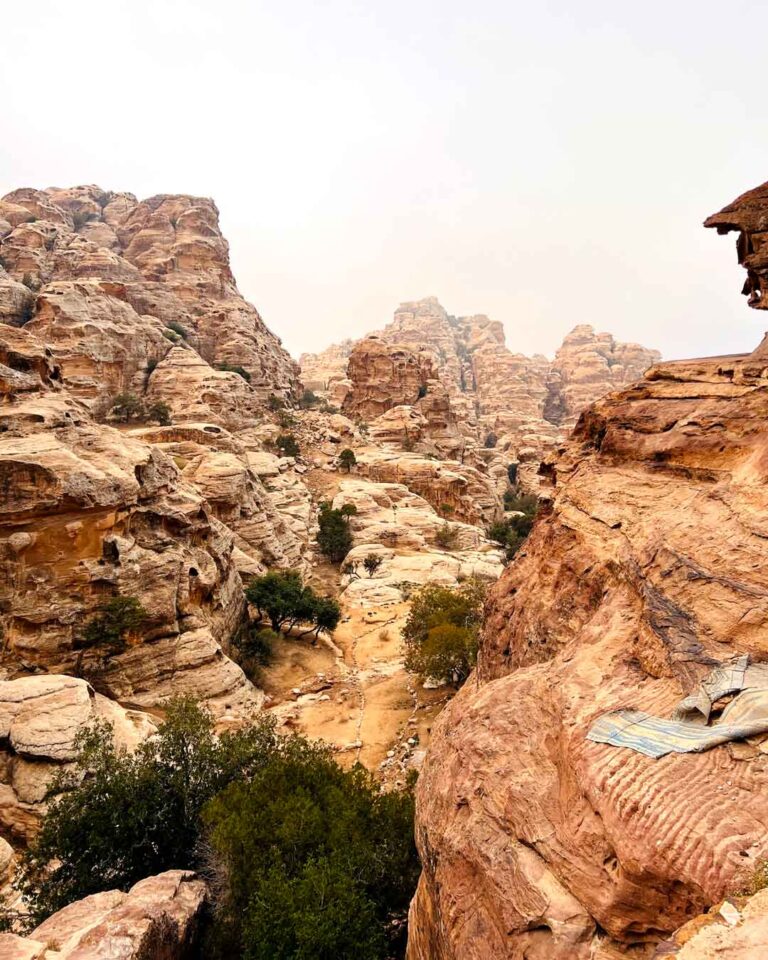
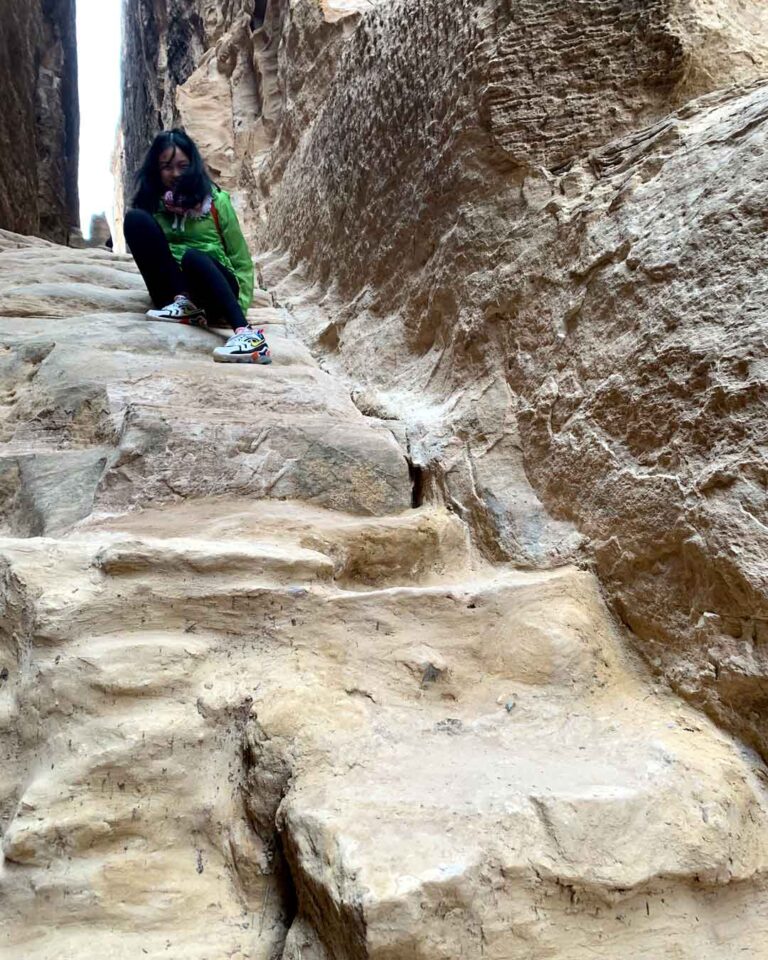
Then, just when you think the Siq couldn’t narrow any further, surprise! At the end of it, you’ll encounter a steep, rock-cut staircase (be careful, it’s quite slippery, or at least it was for me). Climb up, and you’ll reach a breathtaking viewpoint where you can take in the view of the wadi.
Time to visit: 1 hour 30 min (700 m)
Photo spam
Even if it’s not as impressive as Petra, I’d still highly recommend you to add Little Petra to your Petra itinerary as it has a different vibe and different rock colors. And it’s free.
Little Petra-to-Petra Back Door Trail: The Monastery (moderate)
From the Little Petra viewpoint, you have a couple of options to continue your Petra itinerary. You can either head back to the entrance and embark on the Little Petra-to-Petra Back Door Hike, or you can take a daring descent into the wadi and explore the Neolithic village of Al Beidha (get directions). This ancient village, inhabited from approximately 8,500 BC to 5,500 BC, offers a fascinating glimpse into the architectural evolution from circular to rectangular buildings. Oh, and just to add a sprinkle of adventure to your Petra itinerary, from there, you can continue your journey towards South-West through Wadi Siq al-Ghurab until you eventually reconnect with the Back Door Hike (don’t ask me which of the two is considered the official start of the trail, given my exceptional navigational prowess, it’s a miracle that I even found the first one to begin with).
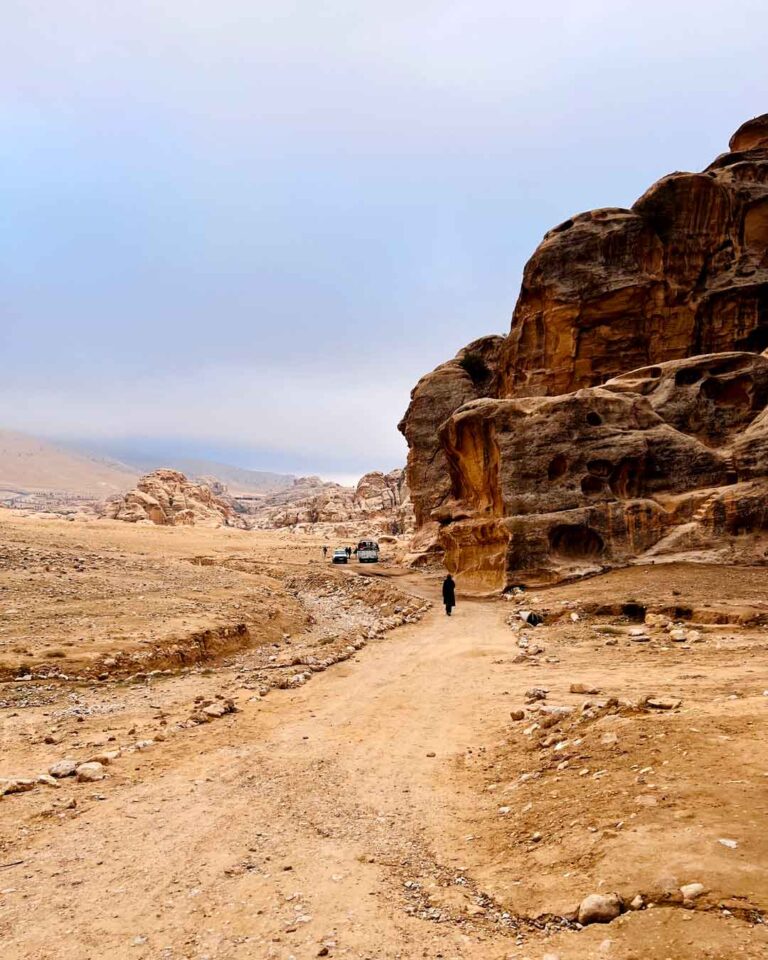
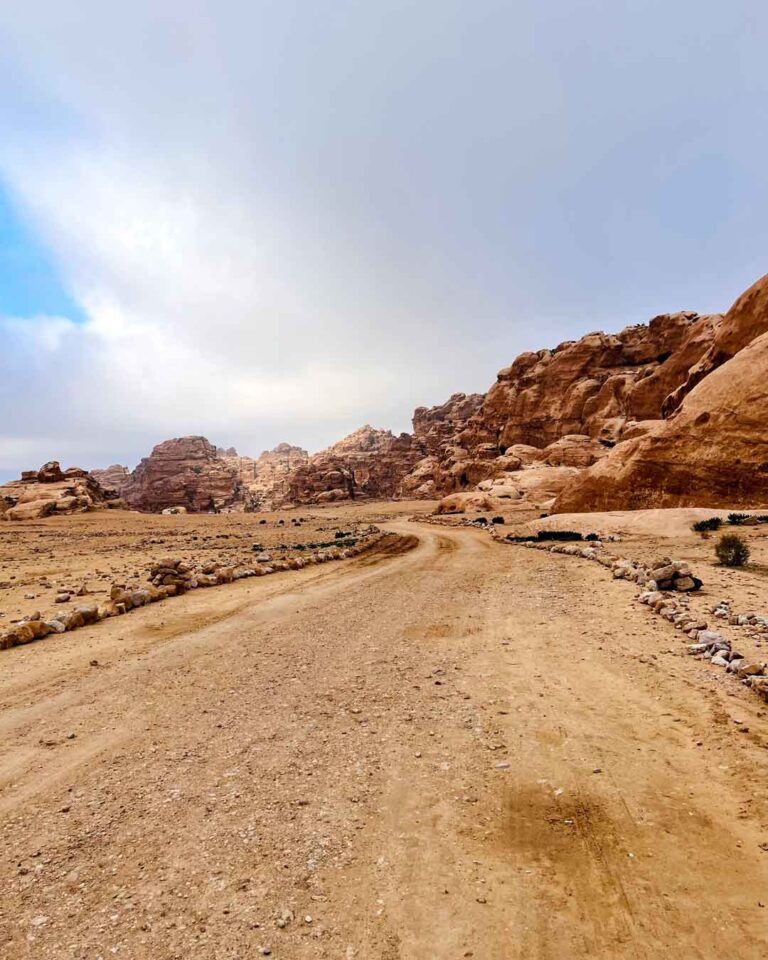
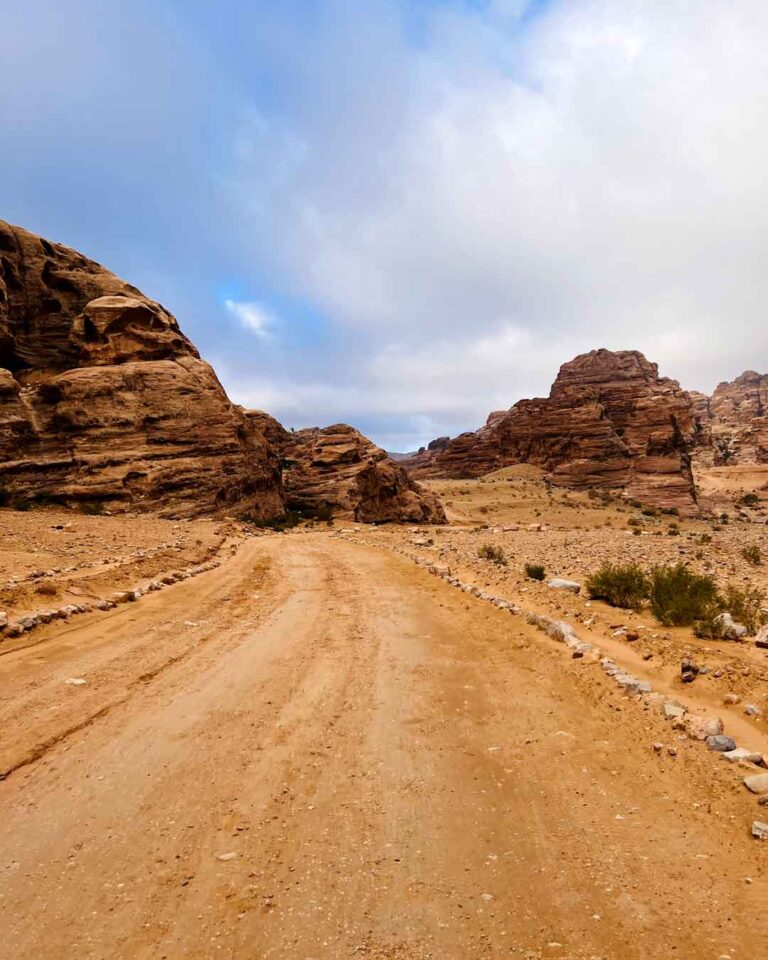
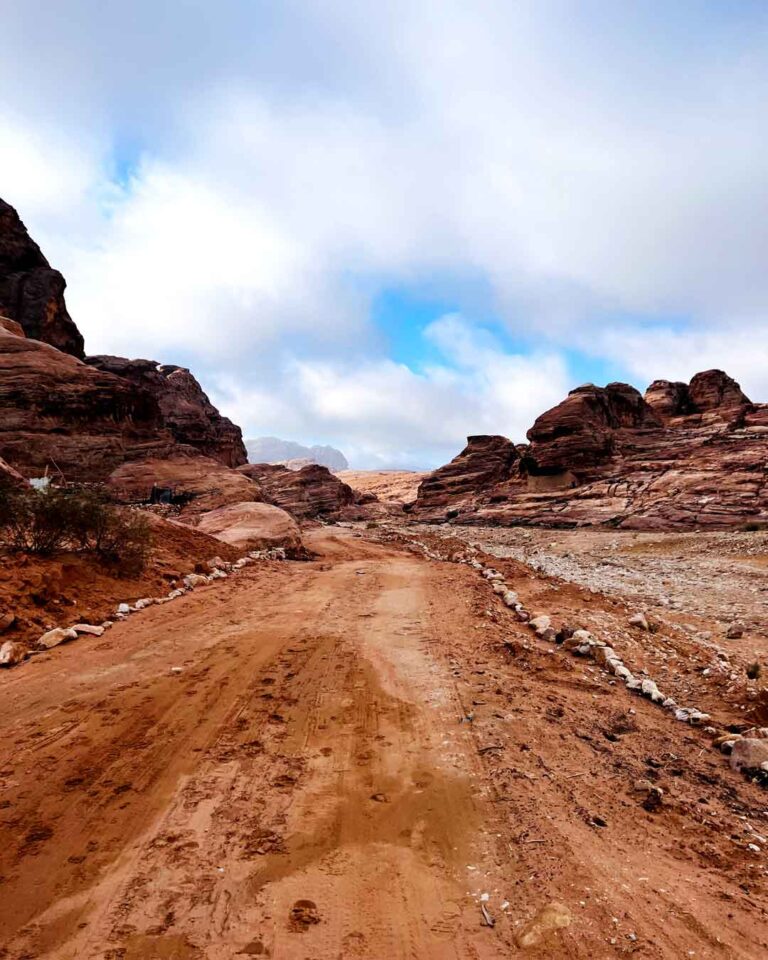
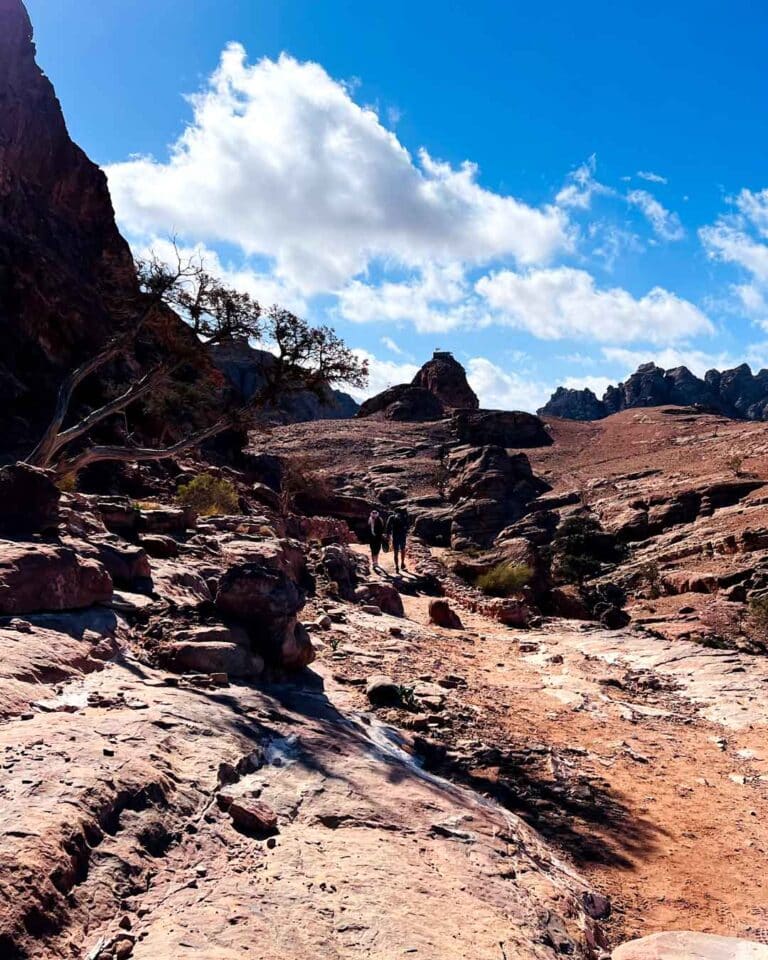
As you might have understood, I am in no position to provide you with a precise guide on how to reach the Monastery from Al Beidha. So, let’s focus on what I have expertly deemed as the official Little Petra-to-Petra Back Door Trail. Once you find your way back to the entrance of Little Petra (get directions), you’ll come across an unmade lateral road that conveniently starts right behind the ticket control booth, and that flanks Little Petra’s rocks on the right. Remember that while you don’t need tickets to visit Little Petra, you will be asked to show them before starting the Back Door Trail as you will be entering Petra from the Monastery.
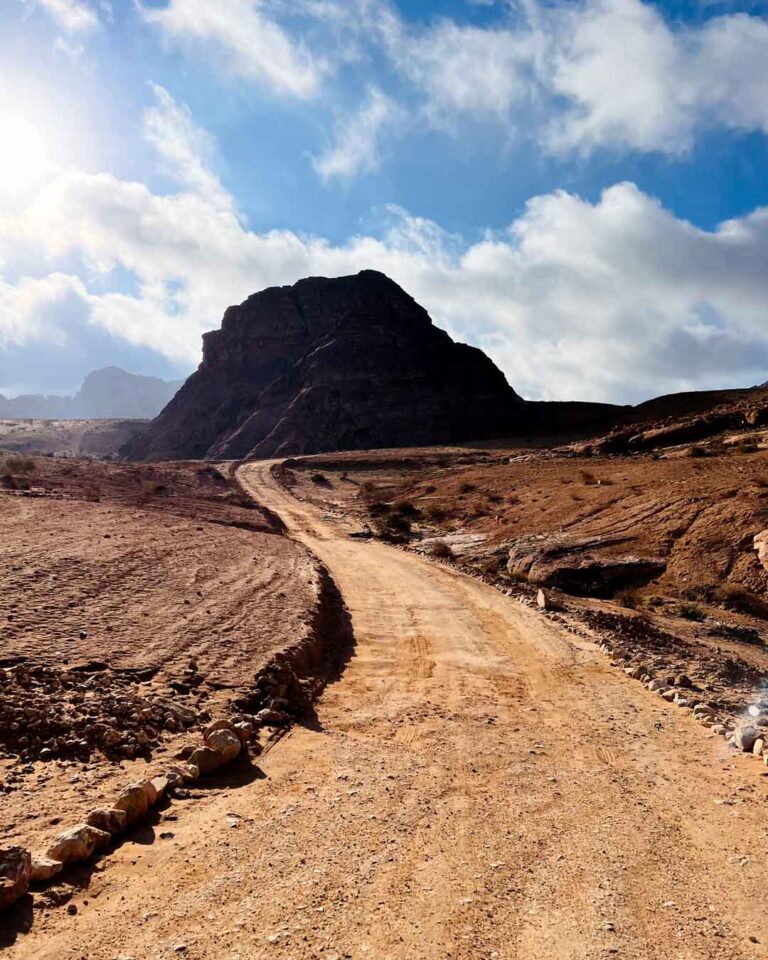
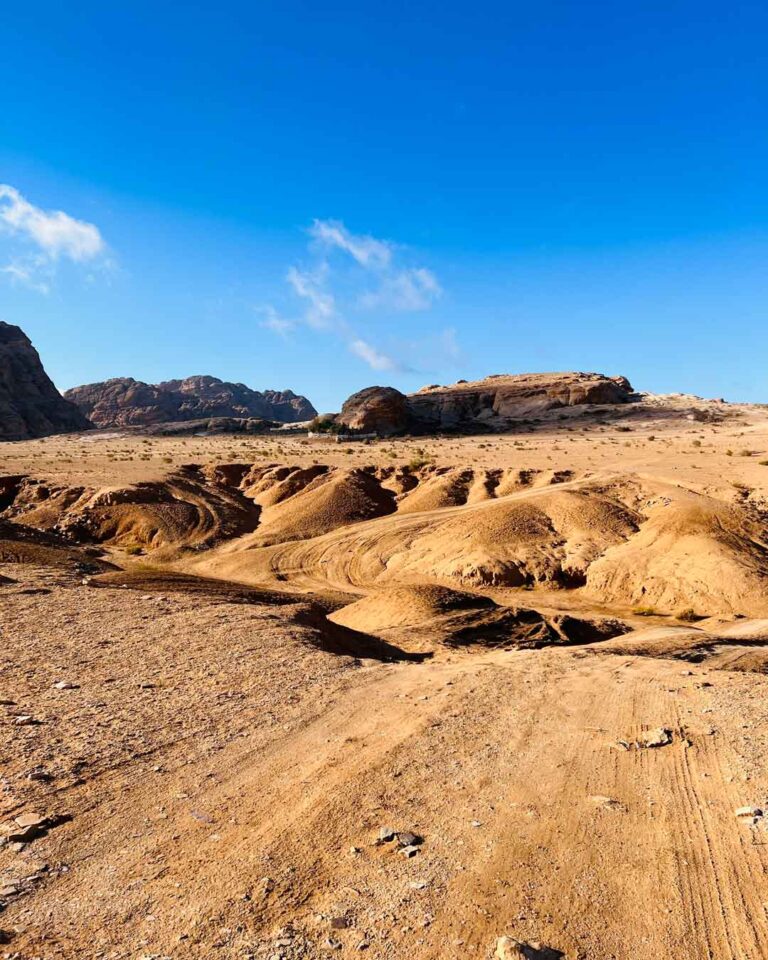
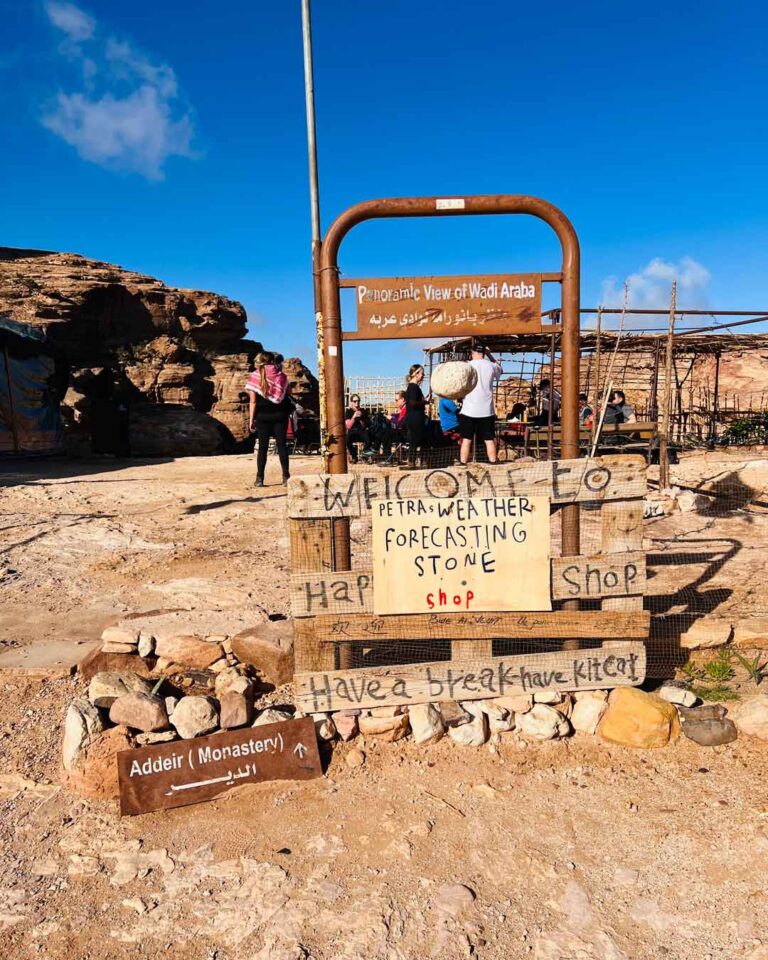
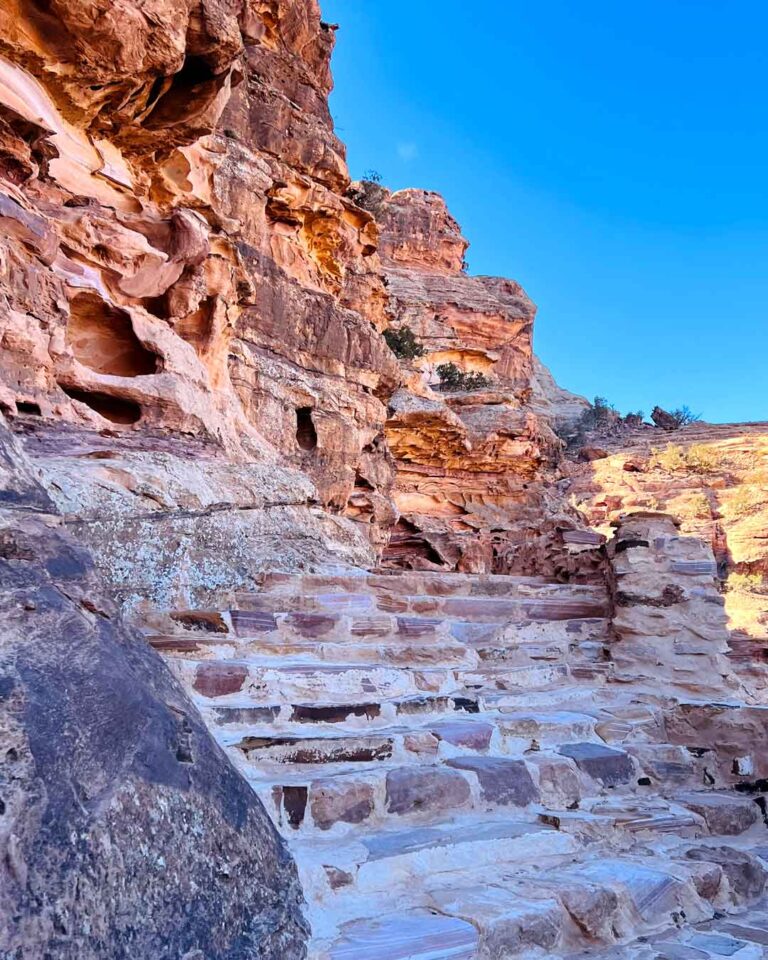
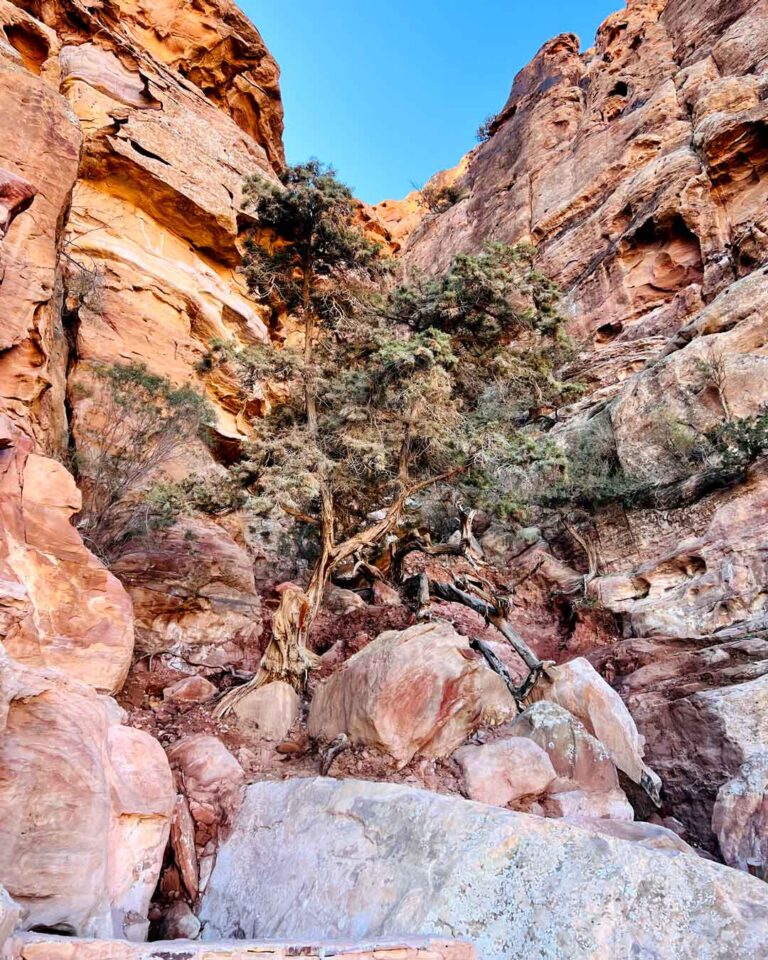
Then, simply follow the skid marks on the ground, and before you know it, you’ll stumble upon a tent cafe at the Wadi Araba panoramic viewpoint. It’s here that your journey truly takes flight, as some steps await you with open arms. The initial stretch is pretty easy, as there aren’t any treacherously steep slopes, and spans a modest 3 to 4 km. However, if you’re feeling a tad bit lazy there’s the option of a 4WD shuttle ride available at around JOD 5 (~USD 7, ~EUR 6.50) per person. This will conveniently transport you directly to the starting point of the staircase, ensuring your energy levels remain intact for the toughest part.
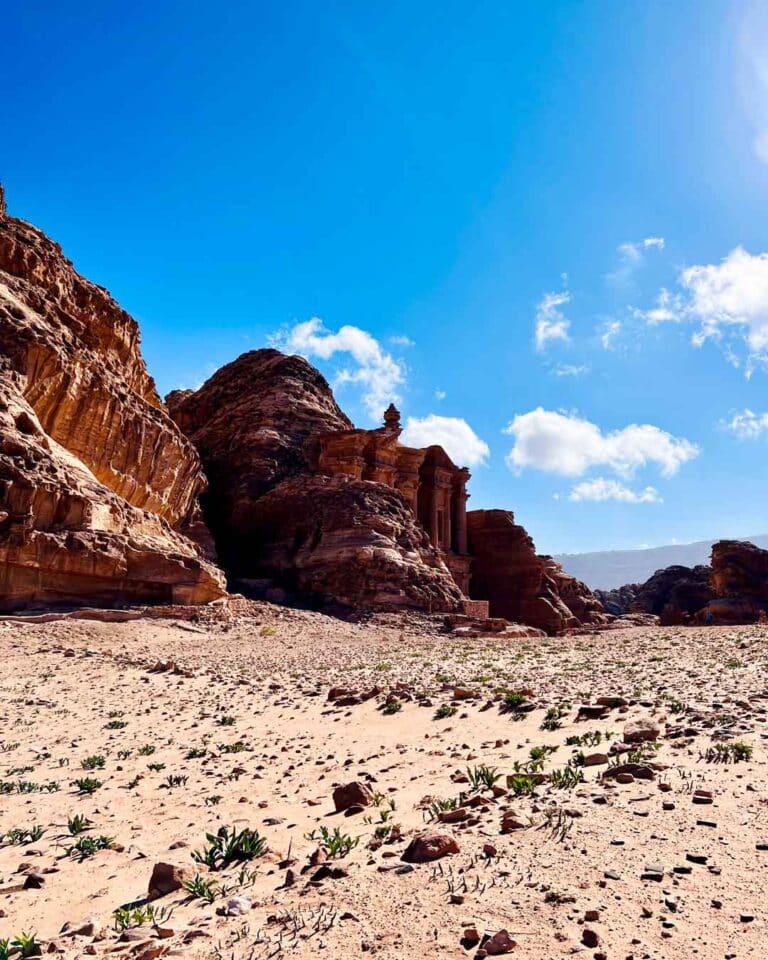
From there, you can bask in the glory of the panoramic view, taking a moment to catch your breath and appreciate the beauty around you. Alternatively, you can unleash your inner Super Saiyan and embark on the audacious feat of conquering those steep steps. If you aren’t too focused on coughing up a lung halfway through the ascent, you’ll let the scenery captivate your senses as you bravely navigate the exposed path along the cliff face. Before you know it, the Ad Deir plateau will unveil itself, with the majestic Monastery peeking out from behind the rocks. Congratulations, you made it.
Time to visit: 2 to 3 hours (8.5 km)
Photo itinerary
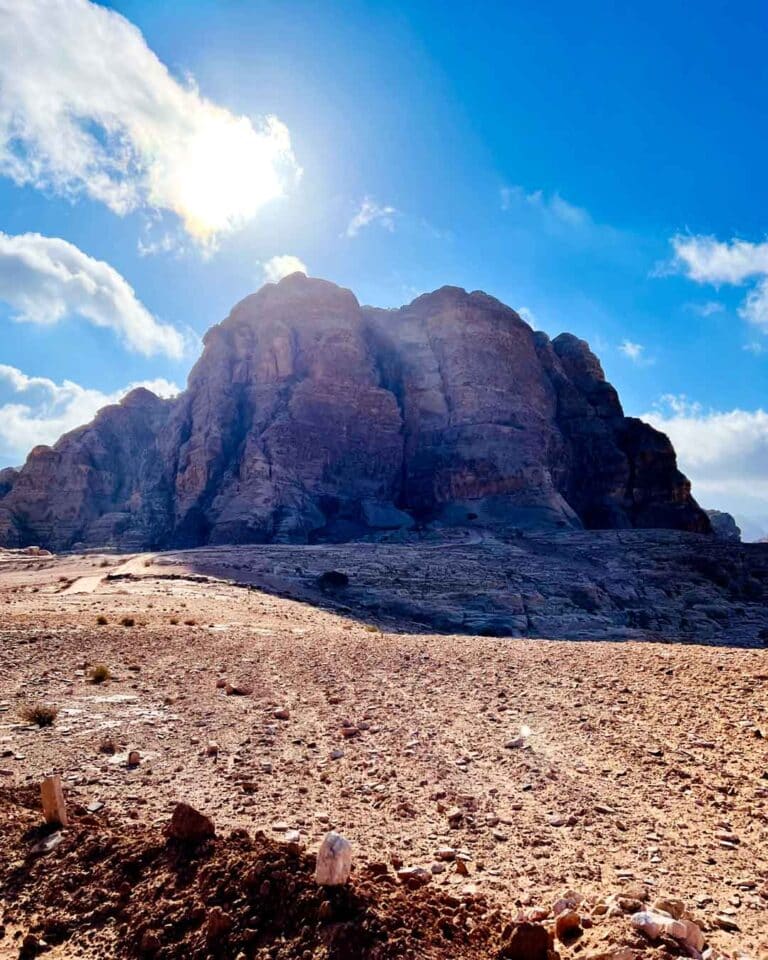
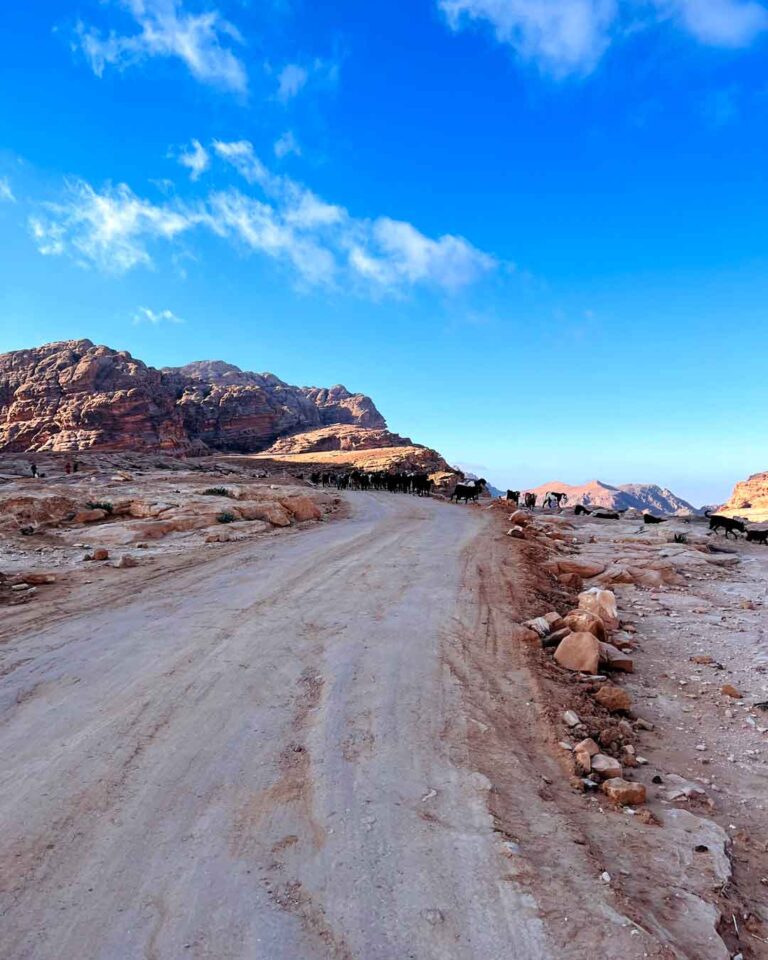
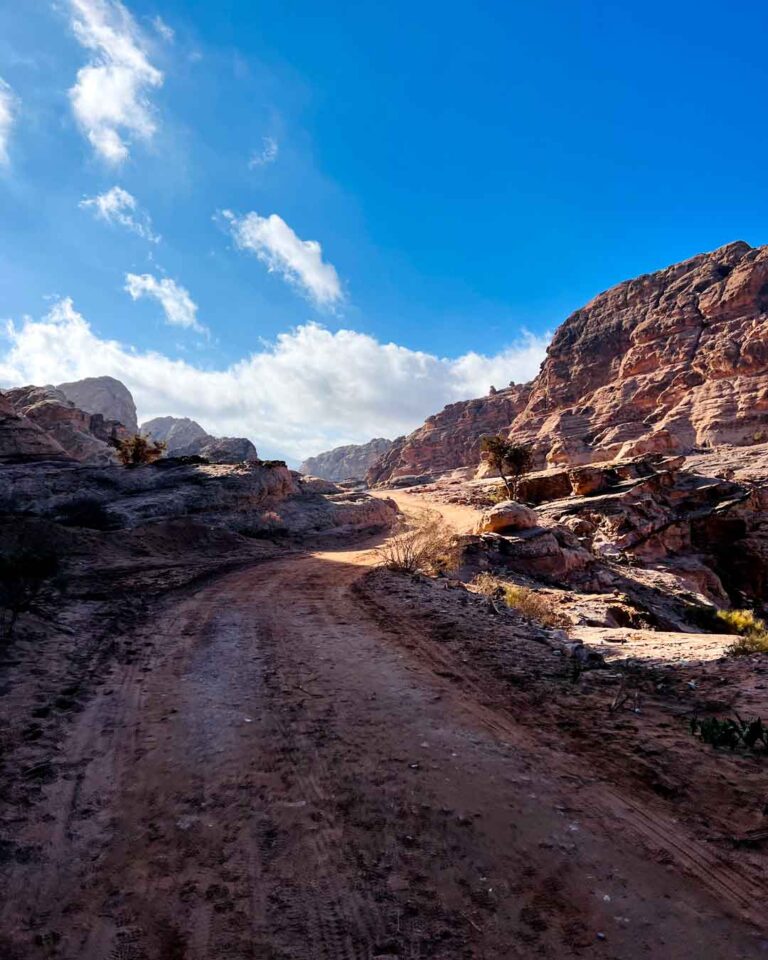
These are not meant to be cool shots (but I’d be more than happy if you still found them cool), but rather informative pics detailing the Little Petra to Petra Back Door Trail so that you don’t get lost when you attempt to hike it.
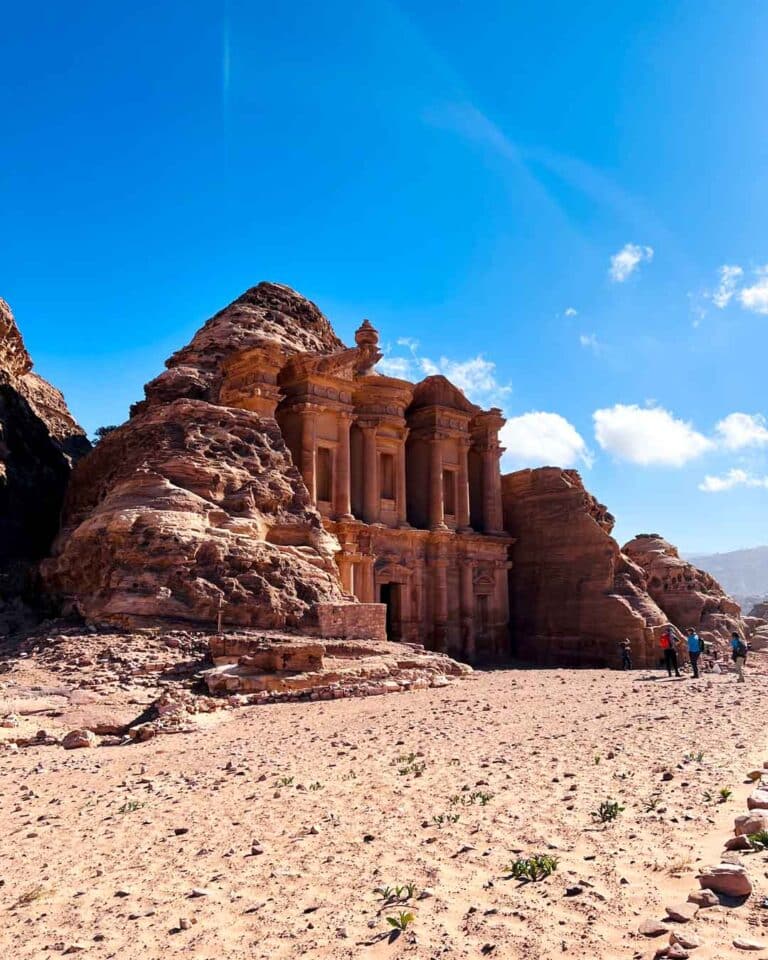
The Monastery and some viewpoints (easy-moderate)
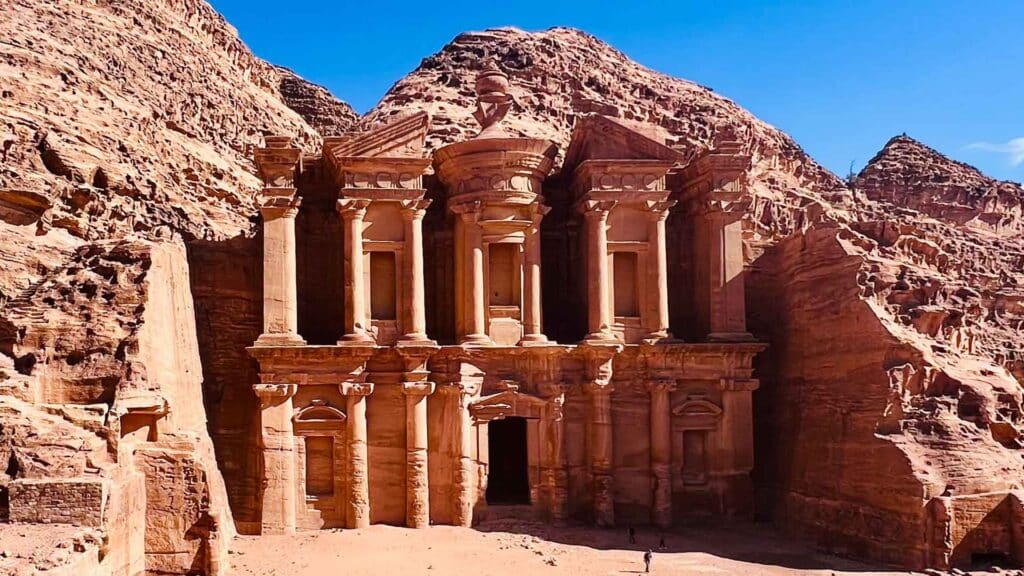
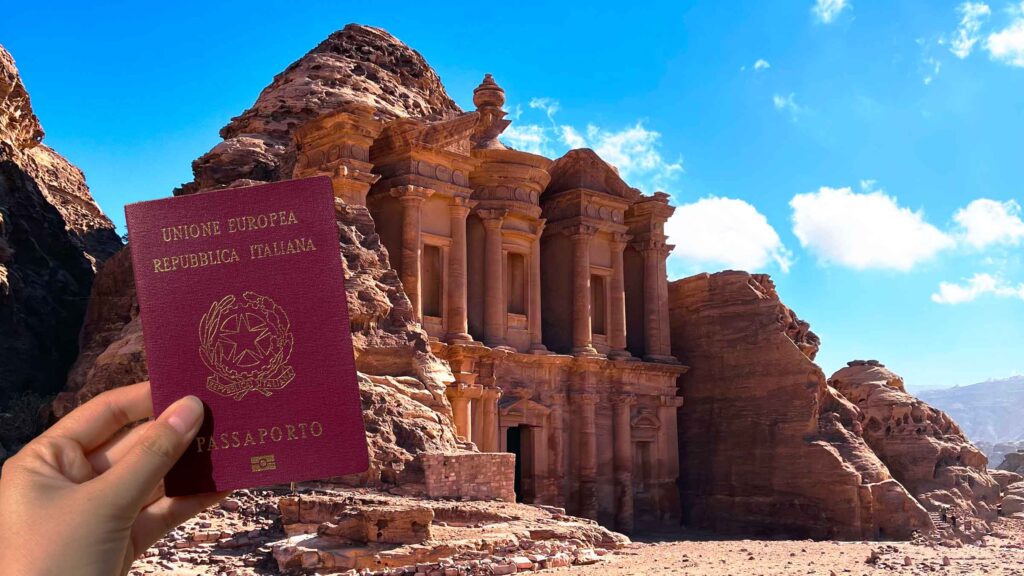
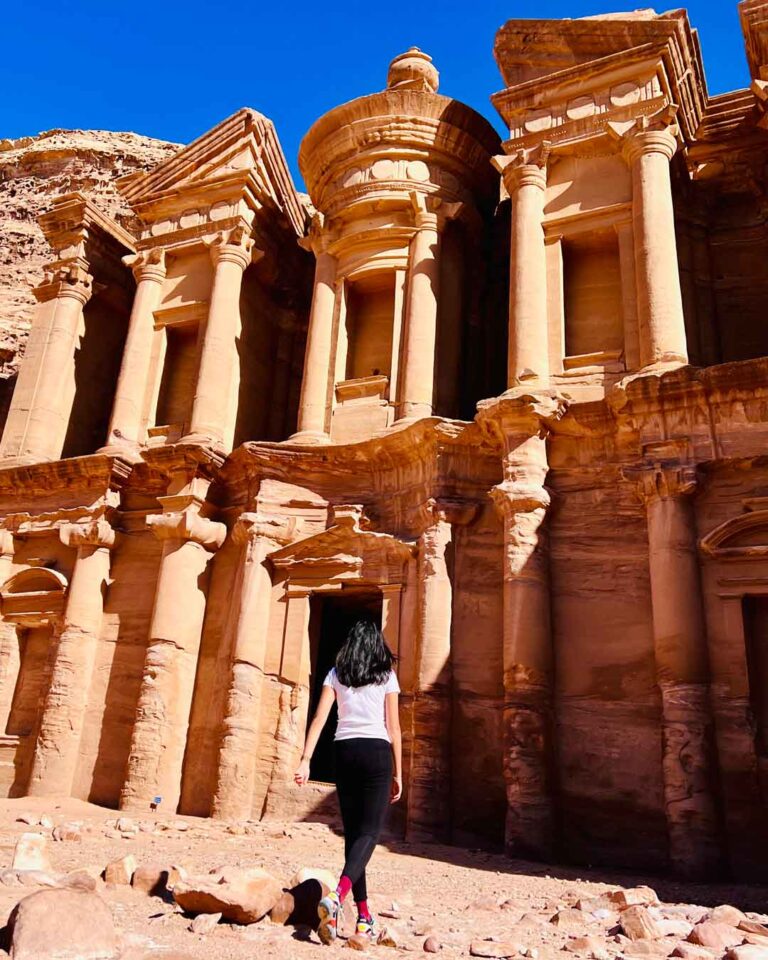
Take a moment to revel in the awe-inspiring presence of the mighty Monastery, also known as Ad Deir. It’s my personal favorite, even more than the Treasury. Why, you ask? Well, while it may lack the intricacies of the Treasury, it compensates by boldly jutting above the rock it was carved into, exuding an air of majestic royalty. And let’s not forget the vast flat area in front of it, which adds an extra dose of grandeur. Plus, there’s usually fewer people around, allowing you to bask in its glory even more.
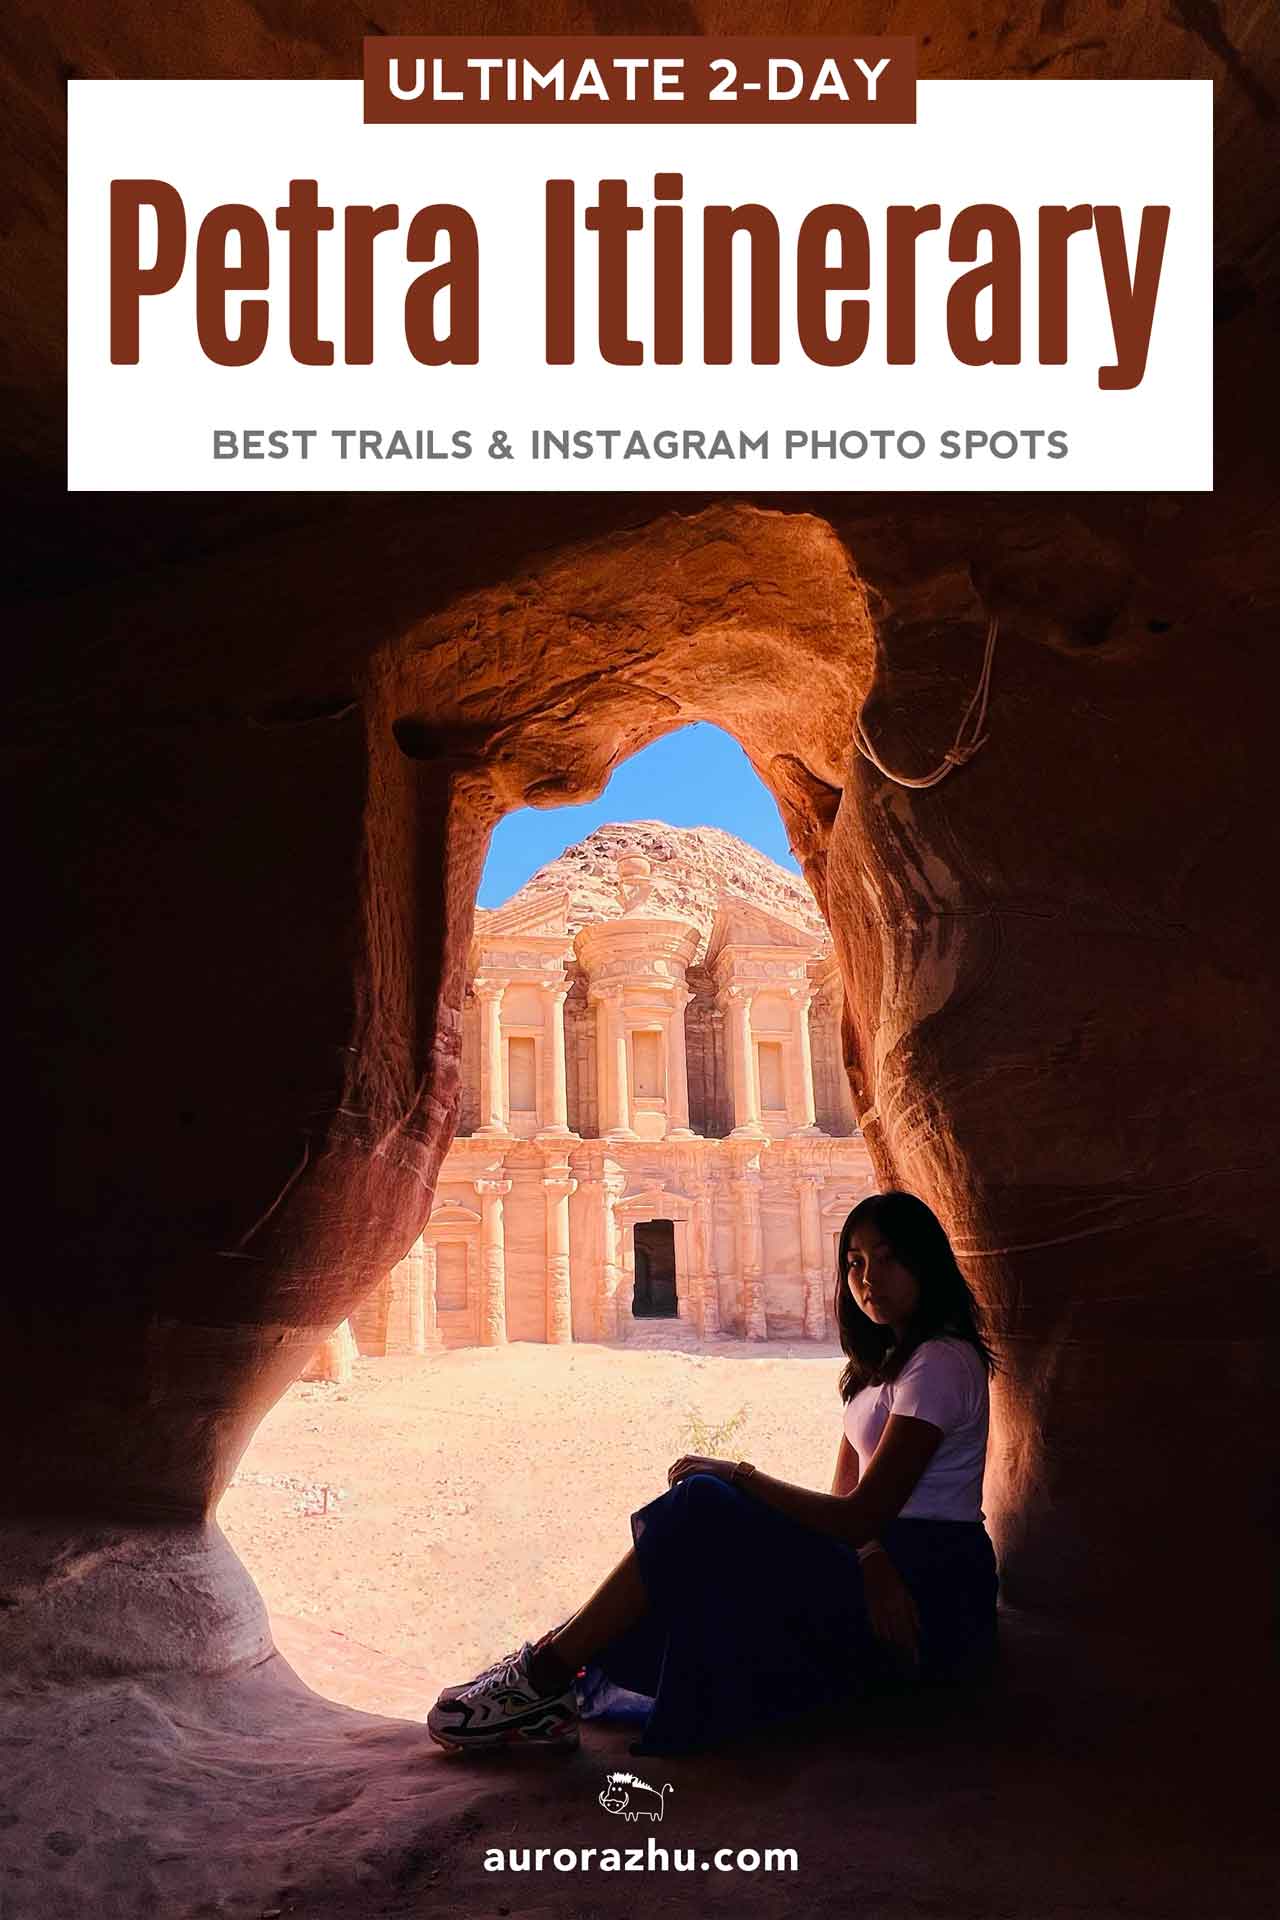
Now, here’s your chance to take advantage of the photogenic quality of the surroundings and load up your Instagram bank with envy-inducing shots. Pro-tip: venture to the cave overlooking the Monastery, conveniently located just a stone’s throw away from the café in front of the monument (get directions). Play with lighting and contrast, and you’ll have some seriously dope shots. Just one minor detail – prepare yourself for a pigsty of a location, as it’s literally filled with sh*t. Ah, the wonders that Instagram conveniently leaves out!
Then, if you’re still craving more epic photo opportunities, there are two or three other viewpoints waiting to be discovered. Don’t worry; they are well marked and relatively easy to reach. The trails aren’t too uneven, mainly comprising steps for your walking comfort. As for me, I was so captivated by the breathtaking view from ground level and from the cave, thanks to the vast flat area, that I didn’t even bother with the other viewpoints. Why risk coughing up the other lung, right?
Ah, and while you’re here, I highly suggest having lunch at the café in front of the Monastery. Not only will you get to savor your meal with a stunning view, but it’s also the perfect opportunity to recharge your batteries before you continue with your Day 2 Petra itinerary.
Time to visit: 1 to 2 hours
Photo spots
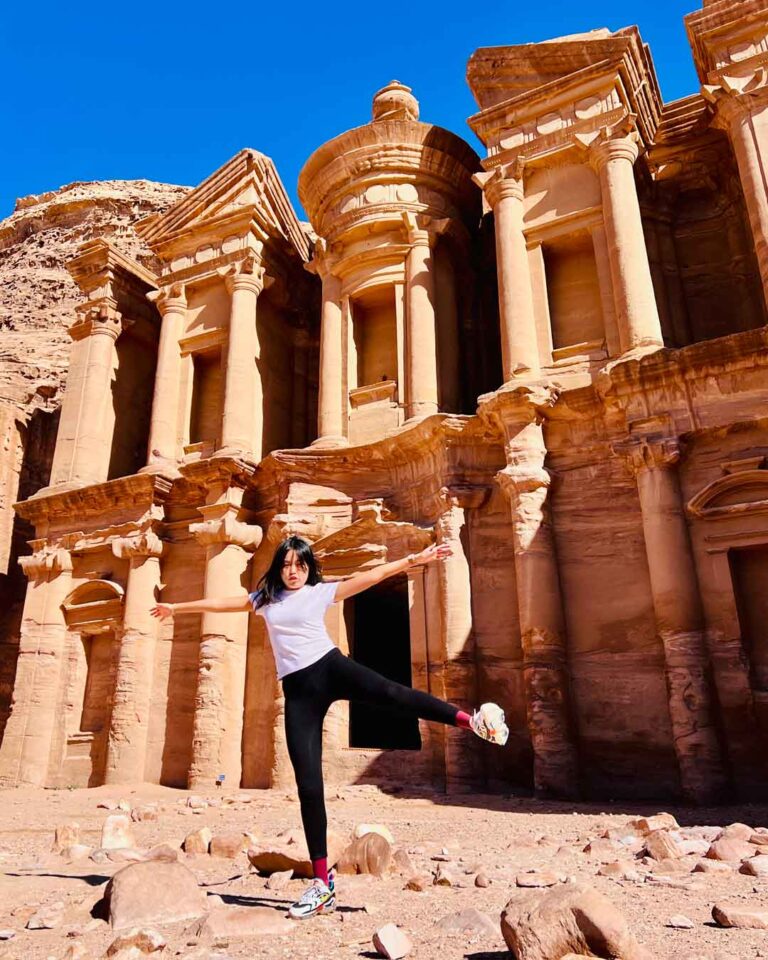
I must say, the Monastery takes the crown as the star of some of my all-time favorite pics from Jordan. Seriously, don’t even think twice about adding it to your Petra bucket list. Trust me, it’s a must-see!
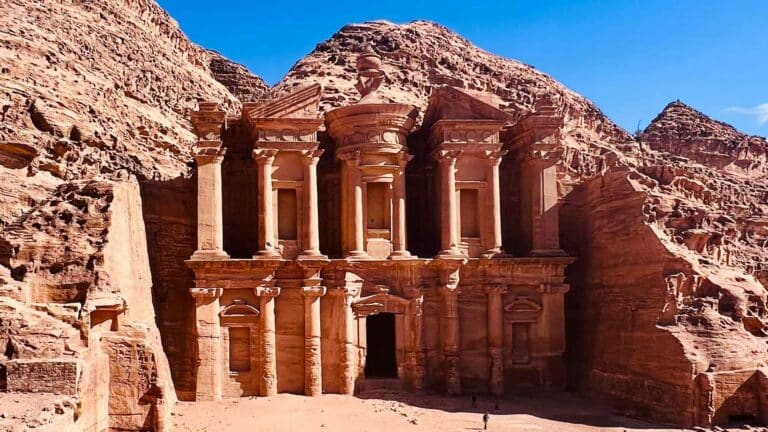
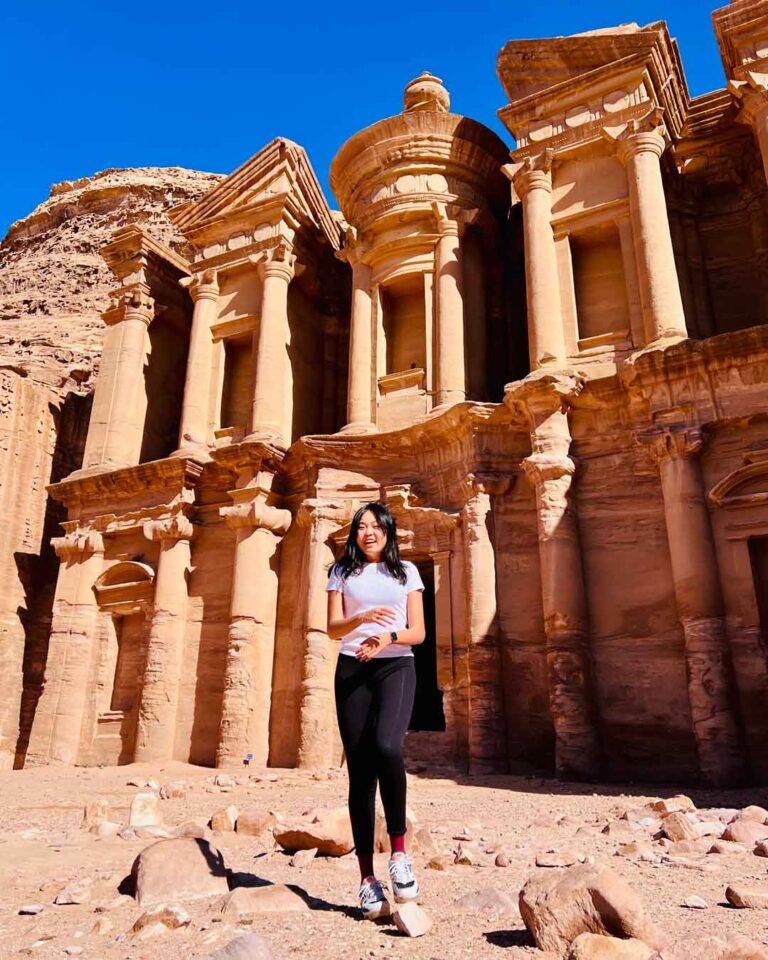
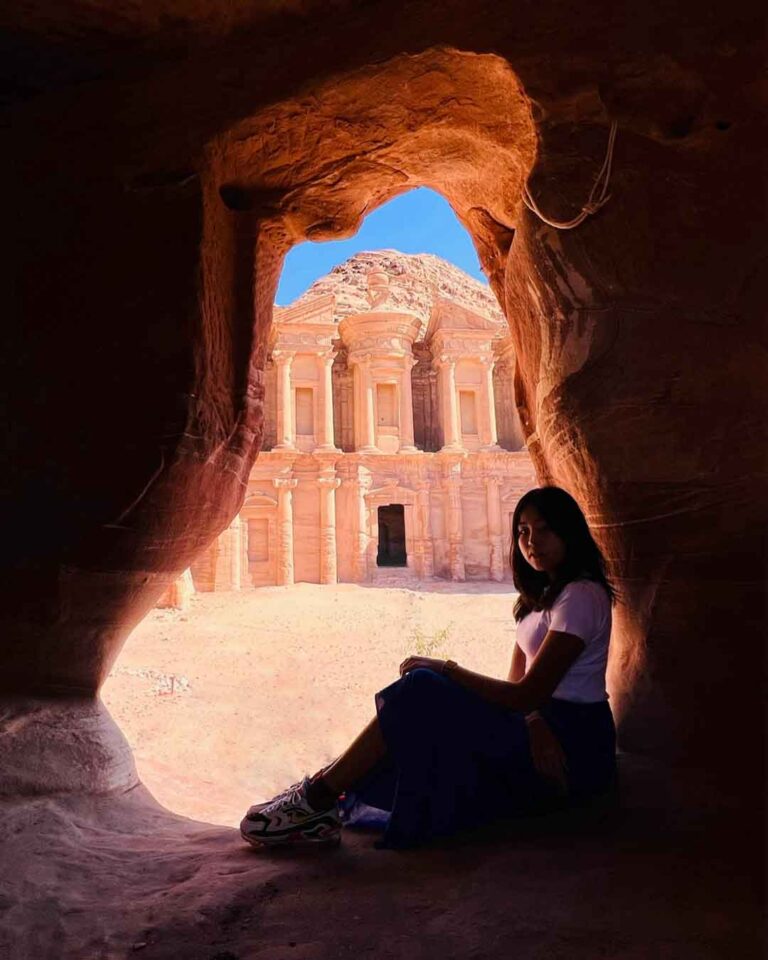
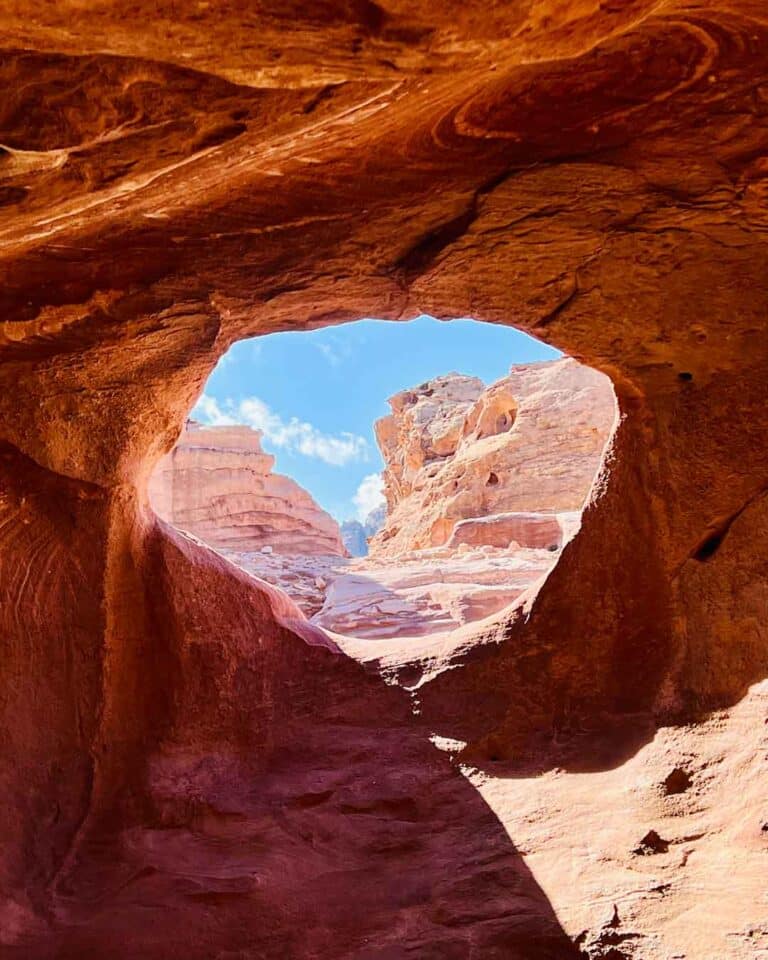
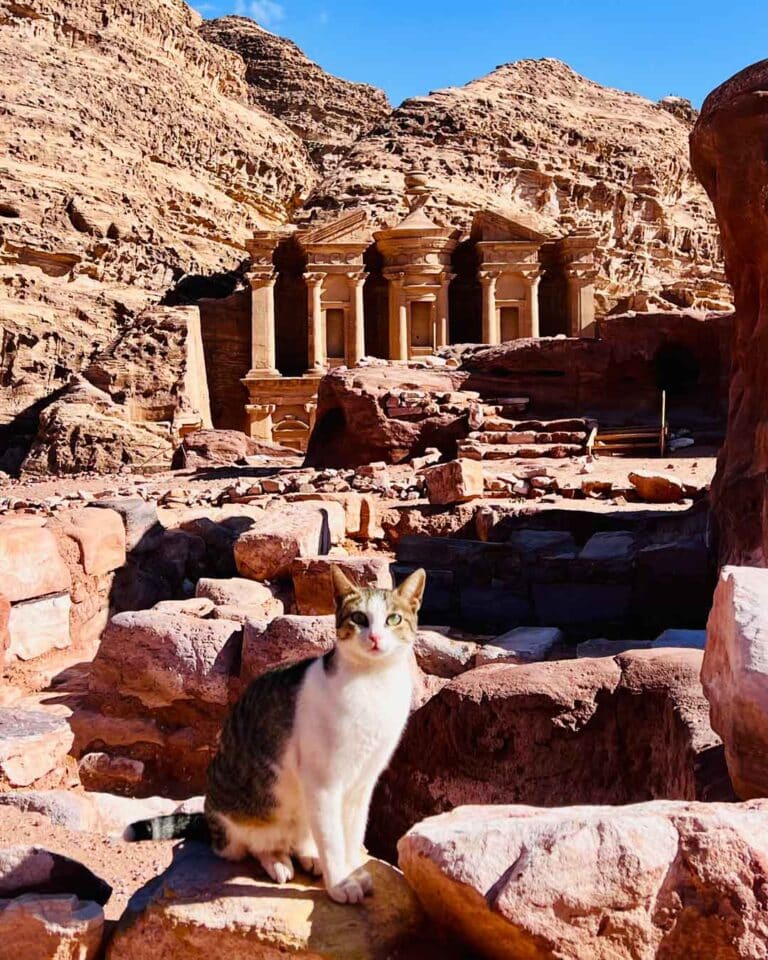
Here you can find some Monastery-related pics and epic fails because why not.
Ad-Deir Trail back to the City Complex (easy-moderate)
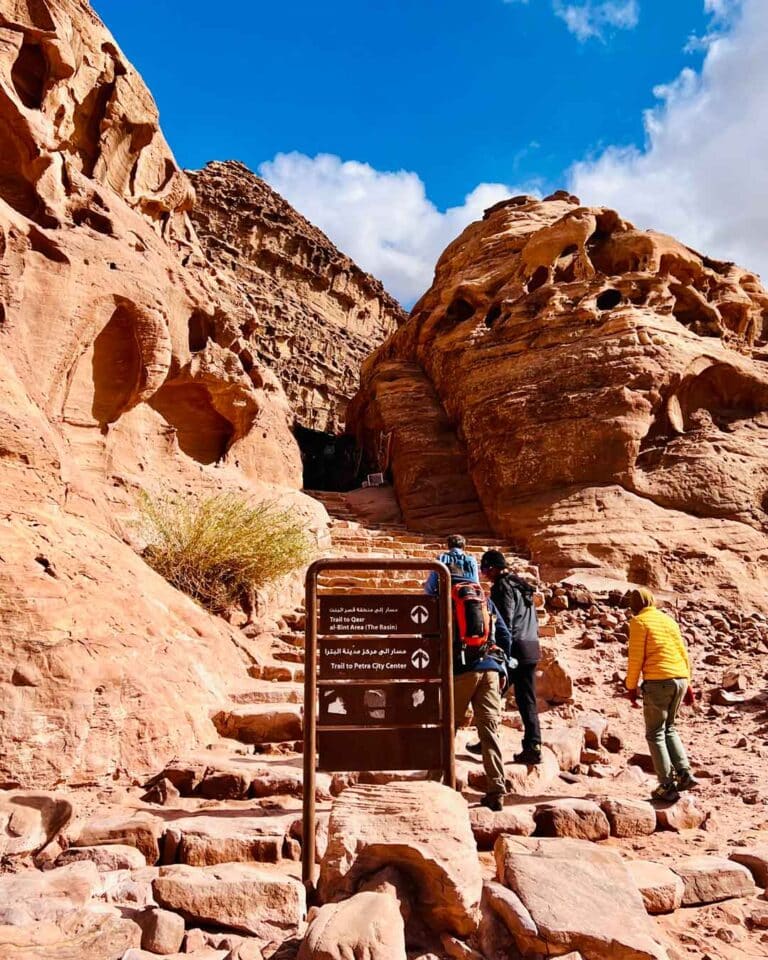
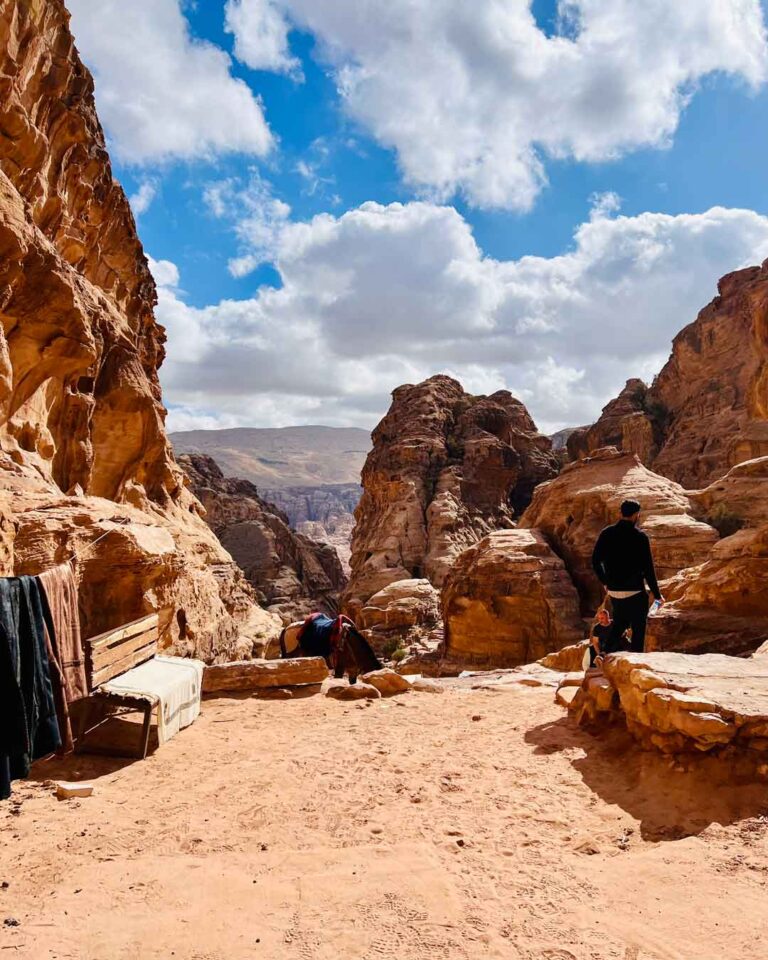
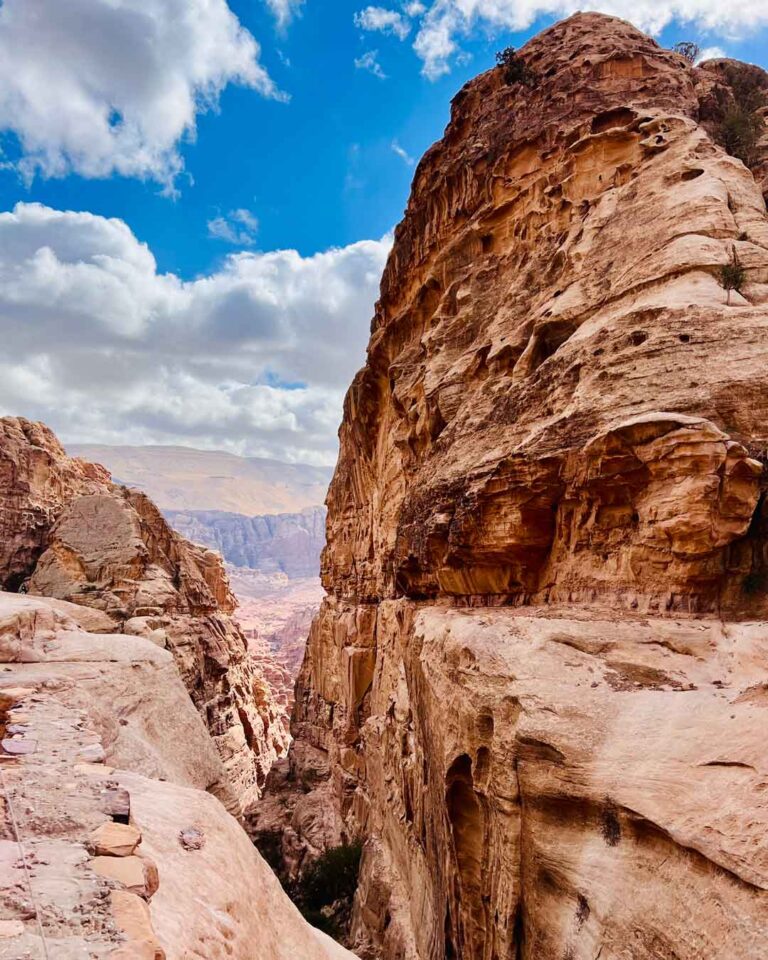
Now, brace yourself for the ultimate highlight of your Petra itinerary. Prepare to make your way back to the City Complex without breaking a single sweat while witnessing hordes of unfortunate tourists struggling on their way up. Oh yes, this trail consists of around 800 steps, and guess what? You get to take them all downhill. This is what I call the good life.
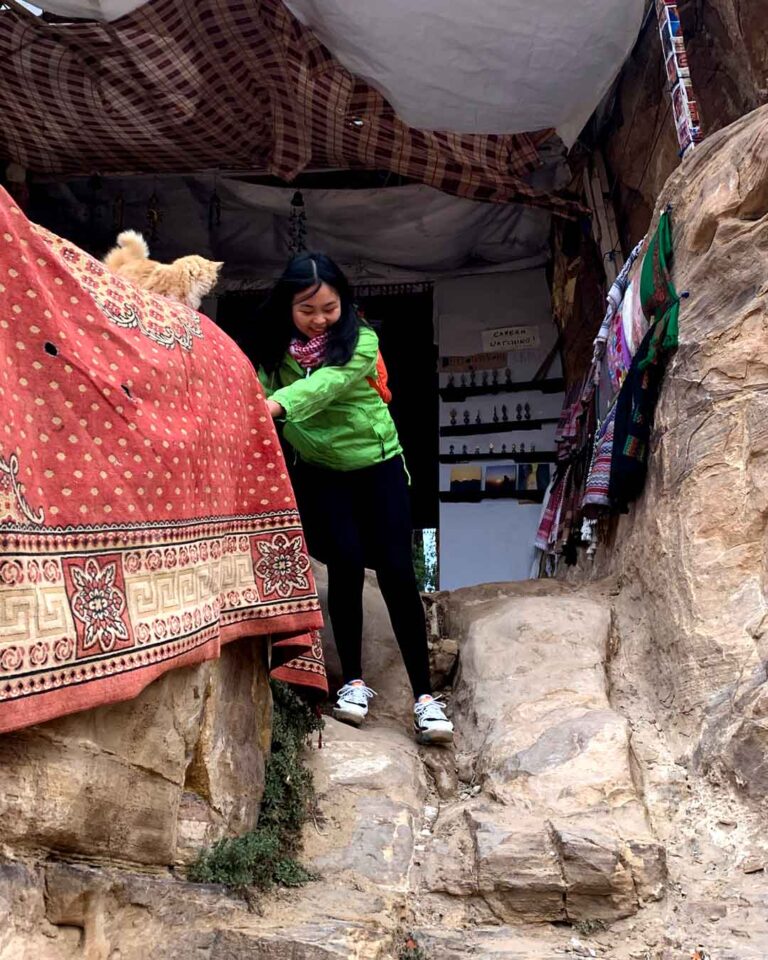
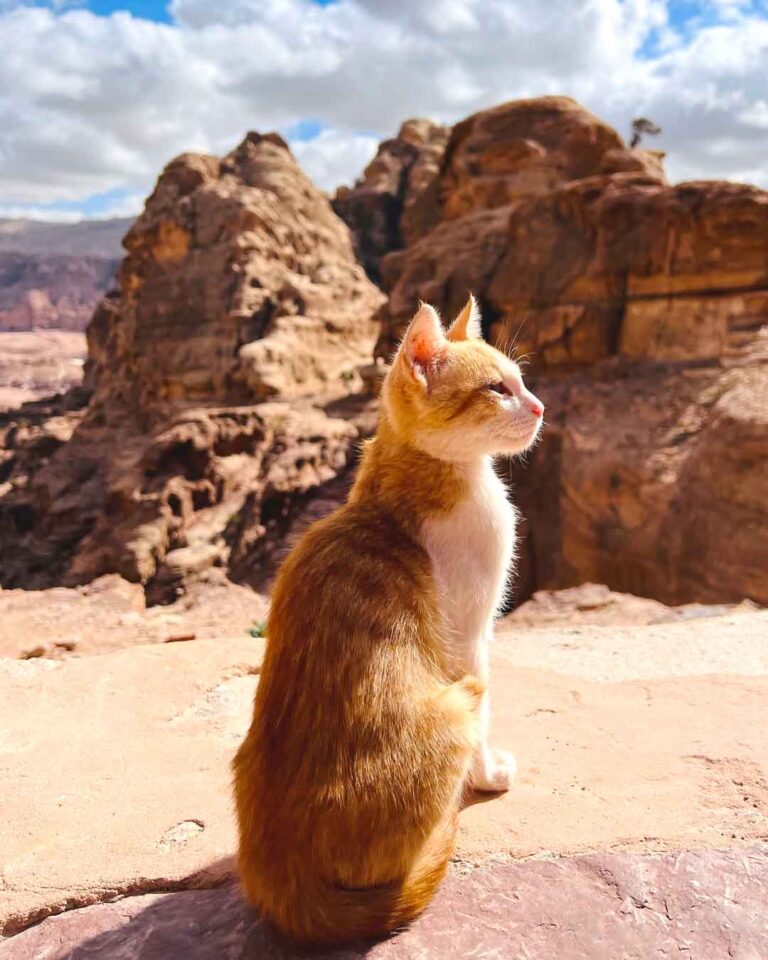
And here’s a little bonus tip: don’t miss the chance to shower some affection on the adorable cats you’ll encounter on your way down. It’s the purr-fect way to end your adventurous journey.
Time to visit: 40 min (2 km)
Photo spam
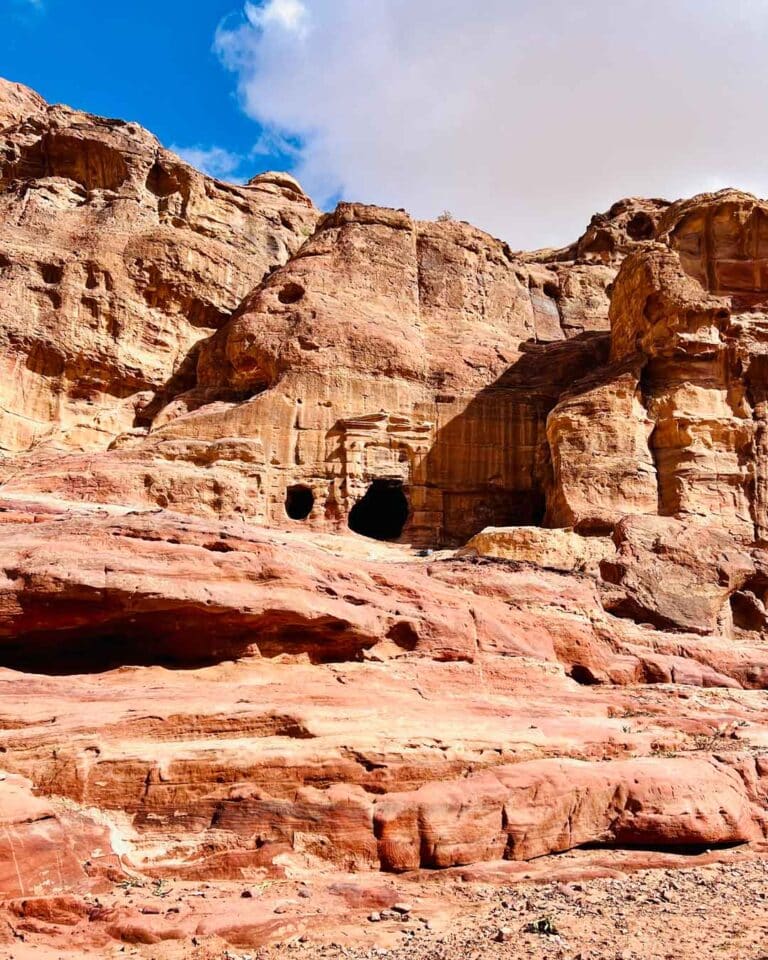
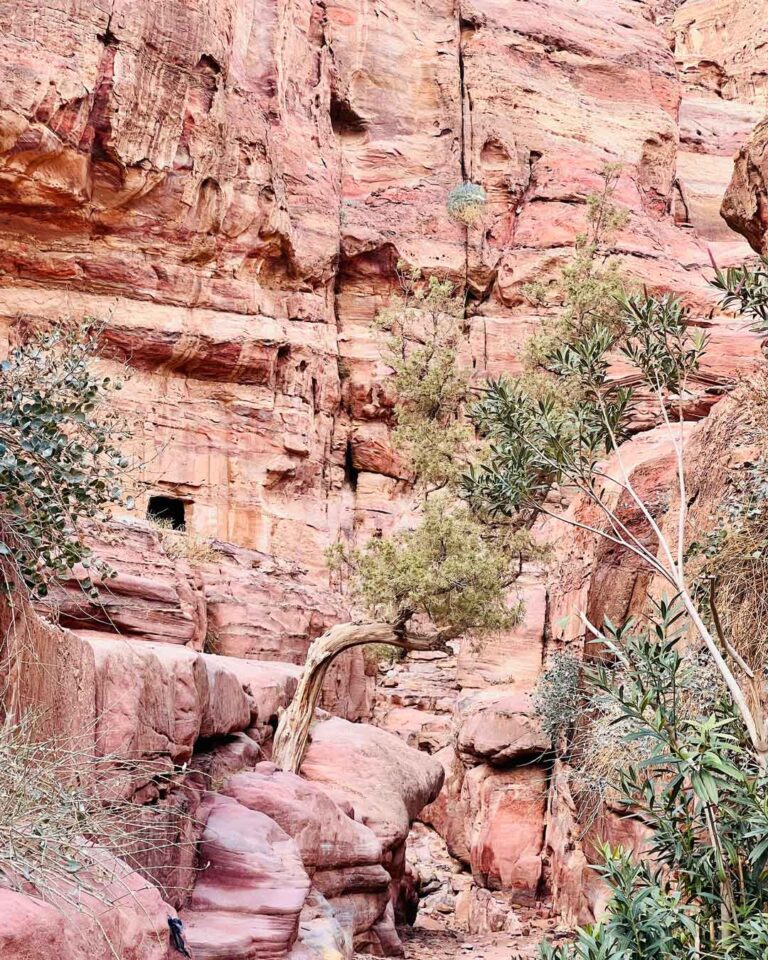
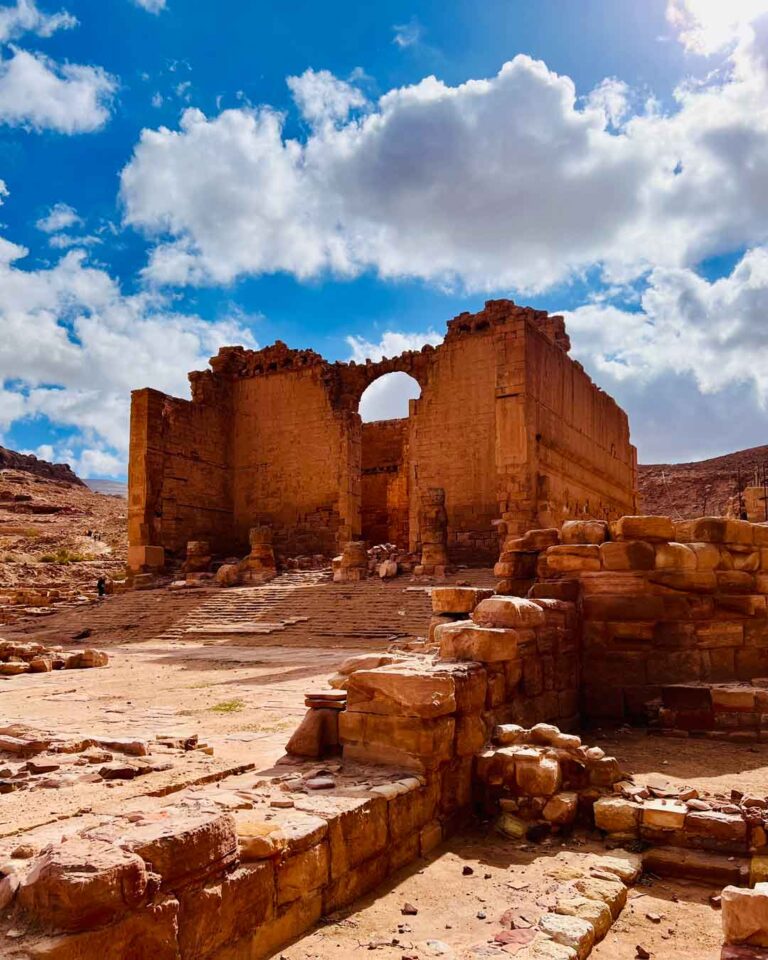
What can I say, it felt so good to effortlessly run down the stairs of the Ad-Deir Trail, while the tourists hiking up to the Monastery where slowly losing hope of making it before 20never.
Main Trail back to the Visitor Center (easy)
By now, you should be a pro at this. At the end of the Ad-Deir trail, you’ll spot Qasr al-Bint, and from there, retrace your steps on the Main Trail all the way back to the Visitor Center to end your epic 2-day Petra itinerary. Don’t give up now, an ice-cold, refreshing limonana is waiting for you.
Time to visit: 1 hour (4.5 km)
Photo spam
I thought that rewards for your full-day hikes deserve a spot too in this article so here you go.


Alternative trails for your Petra itinerary: mix and match according to your taste
Al-Madras Trail (moderate)
If you’re an Indiana Jones fan, you might wanna add this trail to your Petra itinerary to fulfill your movie-inspired dreams as you retrace the steps of the hero. It’s appropriately named the “Indiana Jones way” for obvious reasons. Brace yourself for an adventure that starts just before the beginning of the Siq behind some trees that flank the horse/donkey lane (get directions) and takes you through stunning views of West Petra, all the way to a delightful Treasury viewpoint.
Now, I won’t lie to you; this trail shouldn’t be too demanding effort-wise, but there’s a catch, as finding your way around might be a bit of a challenge. But who needs a clear path when you’re channeling your inner Indiana Jones, right? Kidding, you might wanna hire a guide for this one.
Time to visit: 1 hour (1 km)
Umm Al-Biyara Trail (hard)
Meet Umm Al-Biyara, aka the “Mother of Cisterns,” taking you to one of Petra’s most prominent peaks with breathtaking views of the City Complex ruins. Get ready to discover the Nabatean bath house‘s excavations, complete with an array of cisterns harvesting winter rainwater, and don’t miss the hidden rock outcrop adorned with preserved Nabatean religious carvings.
But hold on tight. This hike is no walk in the park. Brace yourself for a strenuous journey, with the entire trail being a narrow staircase leading to the plateau at the top. And don’t forget the ultimate challenge – finding the starting point. Hint: it’s at the very end of the Wadi Al Farasa Trail. Easy? Not so much. Here’s the secret “map” (not that it’s a map, but you get the idea): after the Main Trail, pass Qasr Al-Bint, start Wadi Al Farasa Trail towards Ez-Zantour Hill’s Villa. Head towards the Snake Monument, keeping Umm Al-Biyara on your right. Eventually, a small valley with a Bedouin tent on the right will lead you to the sign marking the staircase’s beginning. That’s it. More or less.
Time to Visit: 1h 30 min (2.5 km)
Jabal Haroun Trail (hard)
Let’s talk about Jabal Haroun, the highest mountain of Petra, standing tall at 1350 m, also known as Mount Hor. It’s supposedly the final resting place of none other than Aaron, Moses’ famous brother. Yes, the very same Aaron from the history pill that nobody asked for, but I guess we can’t blame Burckhardt for his curiosity when he rediscovered Petra. So naturally, this trail is a popular pilgrimage route, leading devout hikers to the sacred white shrine at the mountain’s summit.
But hold on tight, because this hike is no cream puff. In fact, it’s pretty darn strenuous all the way through, with the last section taking the cake for being exceptionally tiring. The journey commences from the Main Trail, but there are no signs to guide you along the way. So, unless you possess some serious wilderness survival skills or have a knack for finding hidden treasure, I’d strongly recommend bringing along both a good physical condition and an experienced guide.
Time to visit: 4 hours (8.5 km)
Sabra Trail (moderate)
Prepare yourself for a daring adventure on an off-the-beaten-track hike. Get ready to retrace the ancient trading routes, where tombs and houses, Roman and Nabatean ruins, and some intricate rock carvings await your discovery. All this while leading you to the Sabra city complex.
Now, I won’t sugarcoat it – the challenge lies in its length. But don’t worry too much; other than that, it’s not too bad. With multiple starting points available, my suggestion would be to begin either at the very beginning or at the end of the Main Trail. So, pick your starting point and let the exploration begin (possibly with a guide as it’s not well signposted).
Time to visit: 3 to 4 hours (9 km)
Save this on Pinterest!
